The Door Label app displays the room’s status and upcoming meetings and events from your Microsoft and Google Calendar.
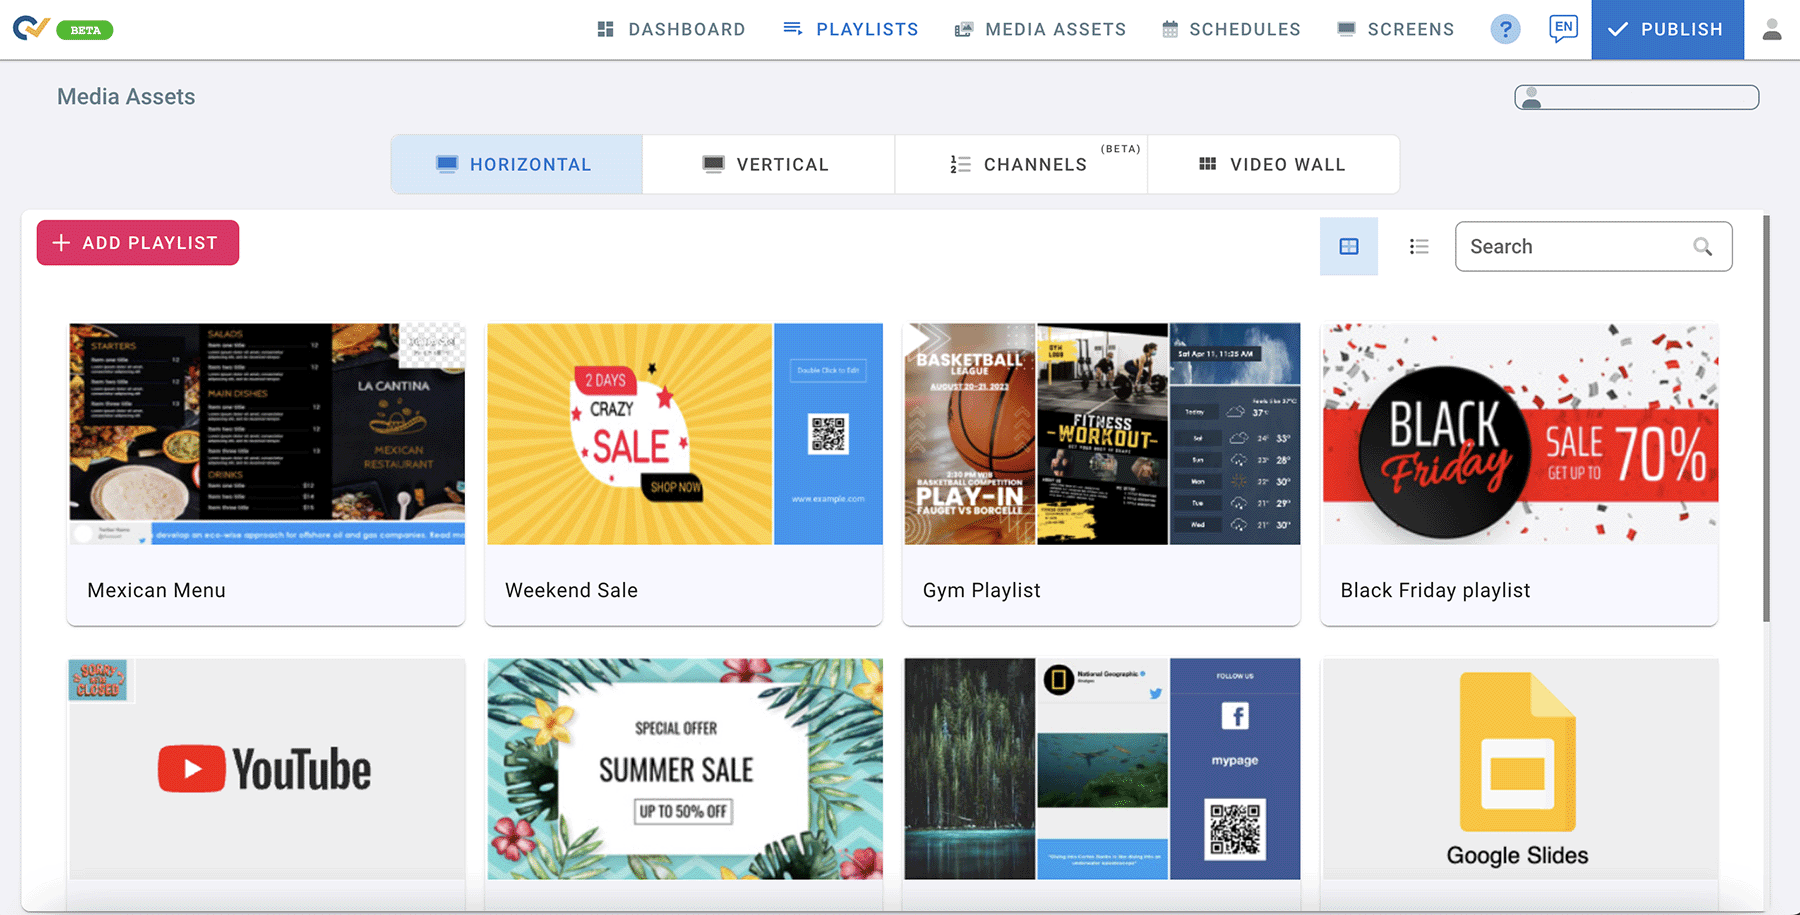
- Go to the Playlists page.
- Select Horizontal orientation tab for your playlist.
- Click on ADD PLAYLIST.
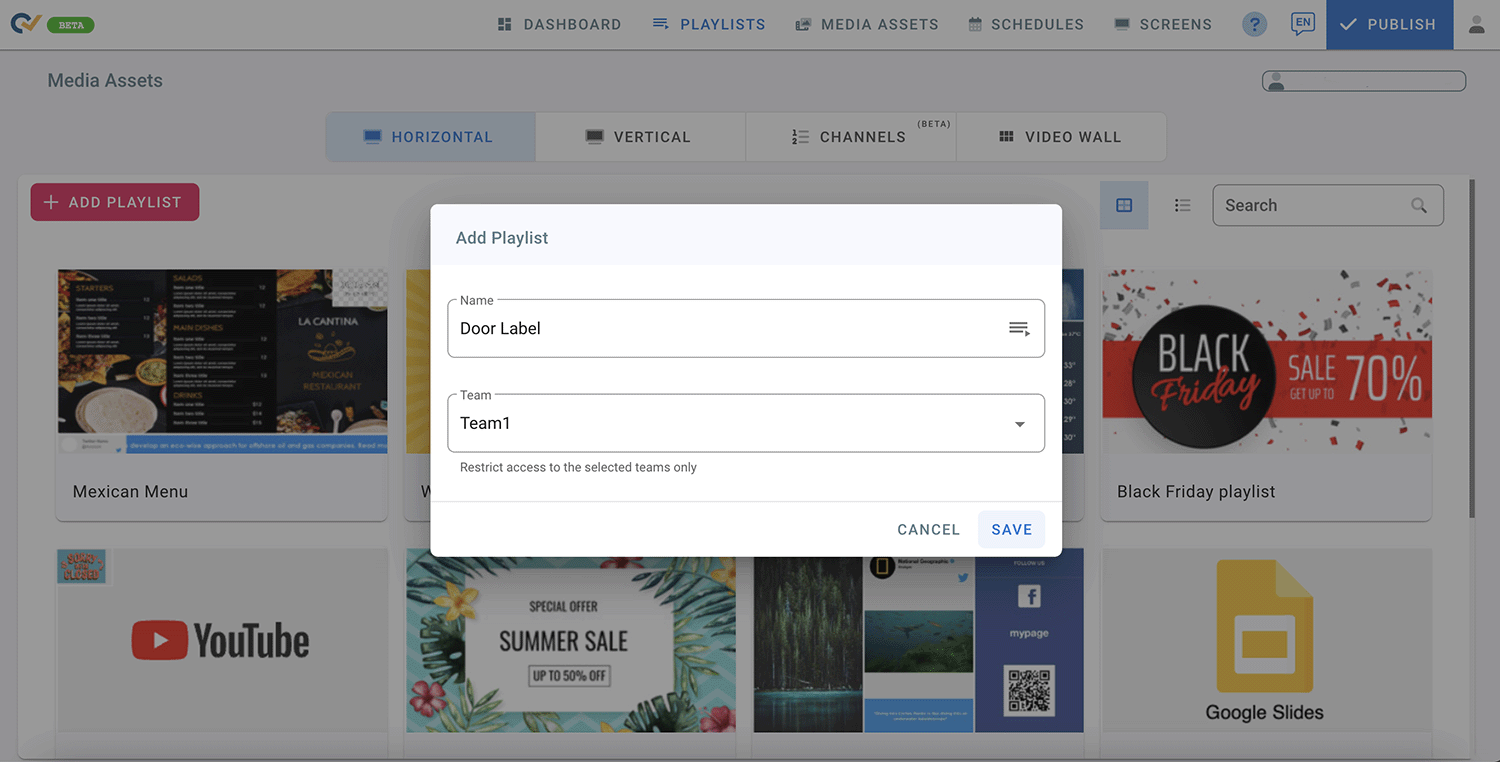
- Add Playlist and fill up the name of the playlist.
- Select a Team from the drop-down list. (Teams must be created before creating playlists. Check Teams in User Management)
- Click Save.
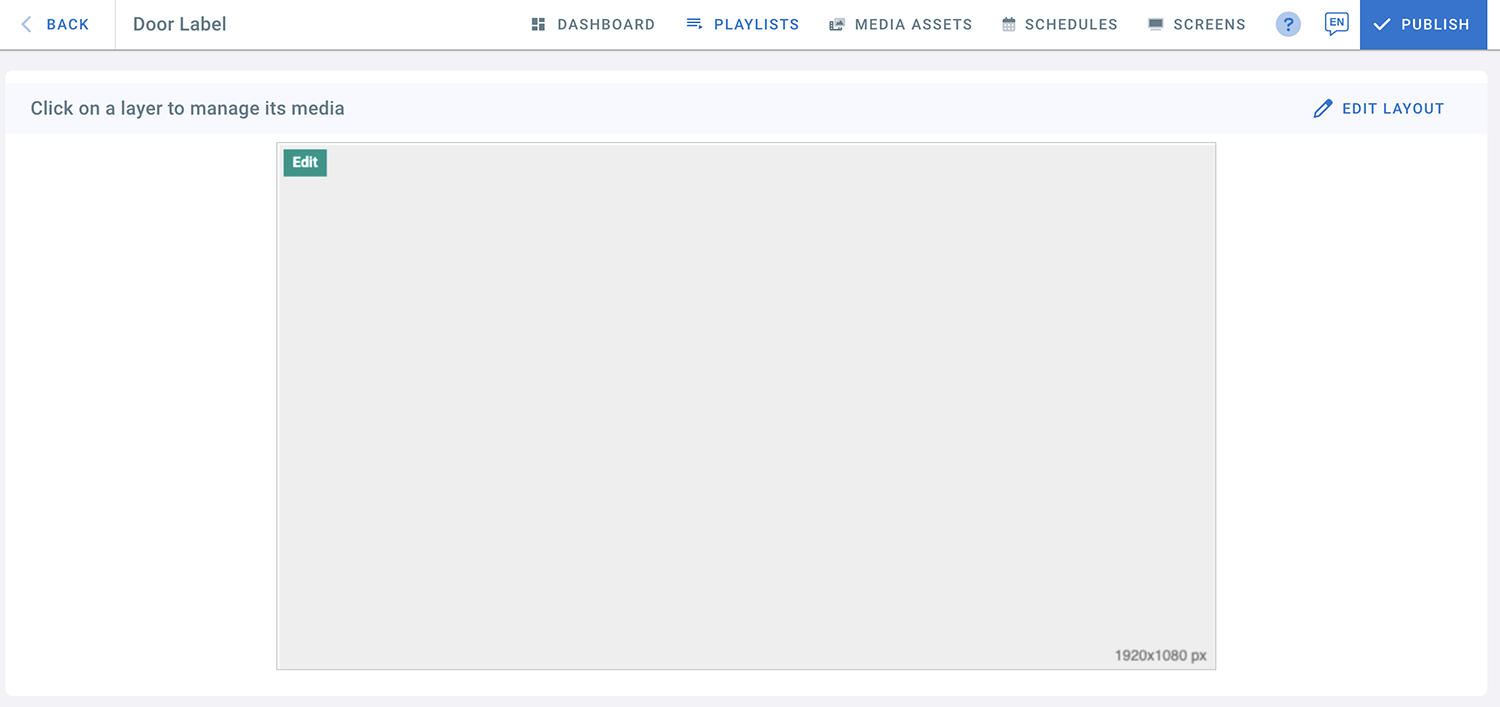
- Choose Full Layout 1 for your Door Label (1920x1080 px).
- Click on the layer to add media.
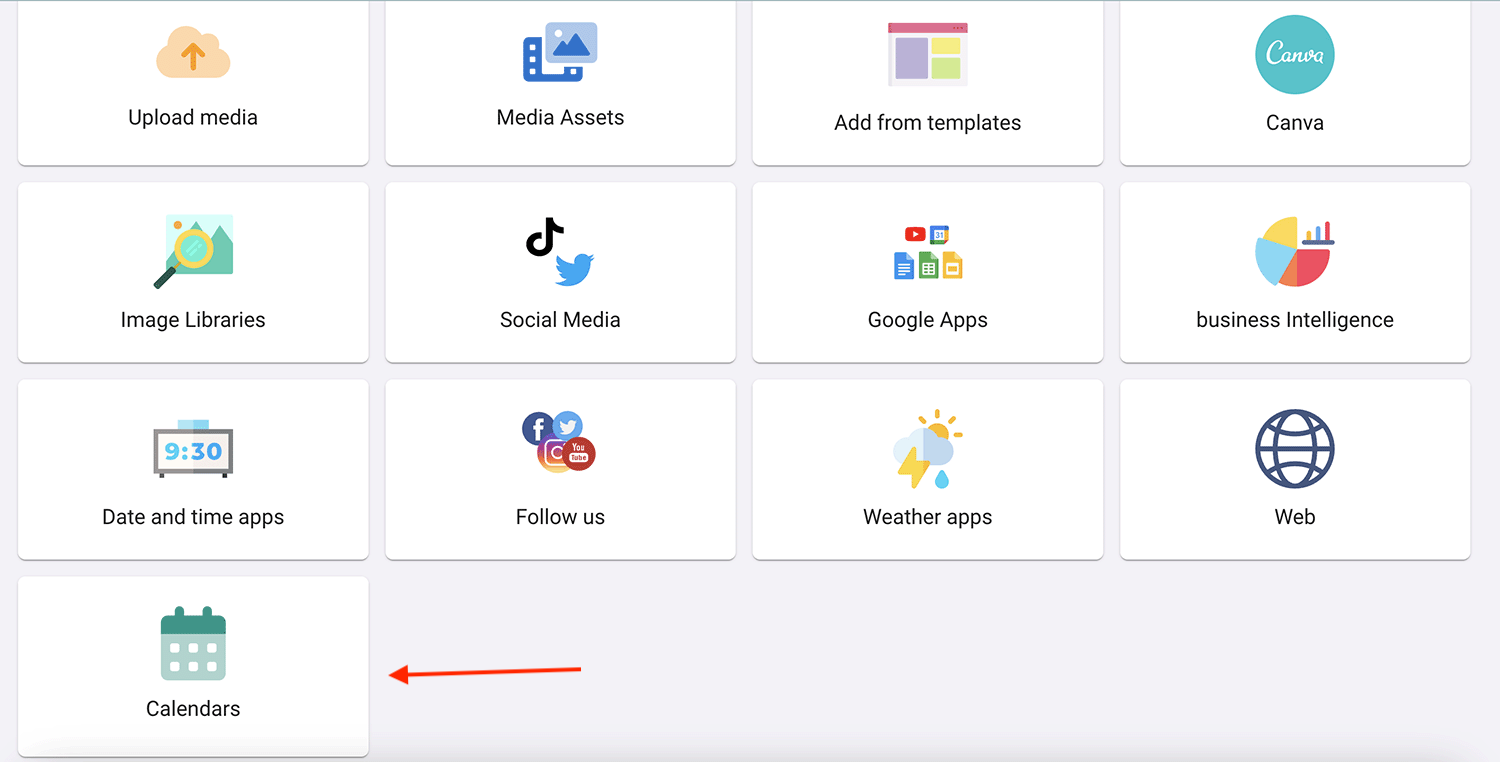
- From the Apps Page, select “Calendars”
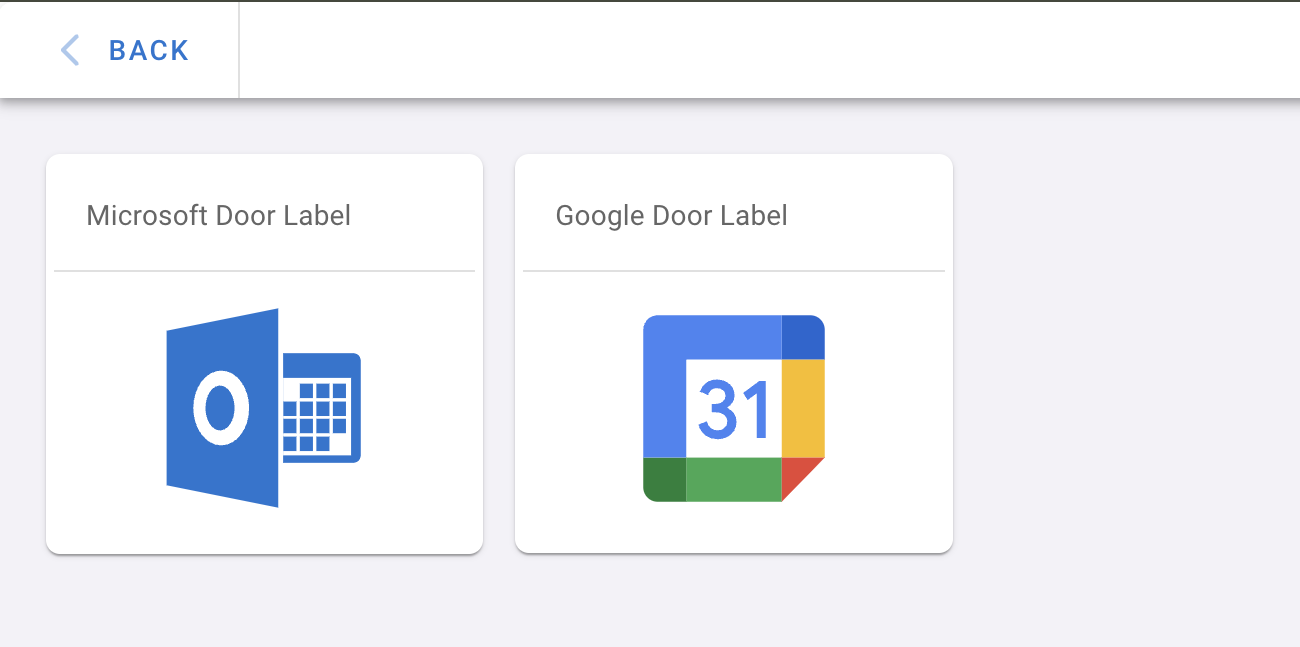
- Choose one of the calendars: Microsoft Door Label or Google Door Label.
If you choose Microsoft Door Label:
- Fill in the details for the account you want to connect.
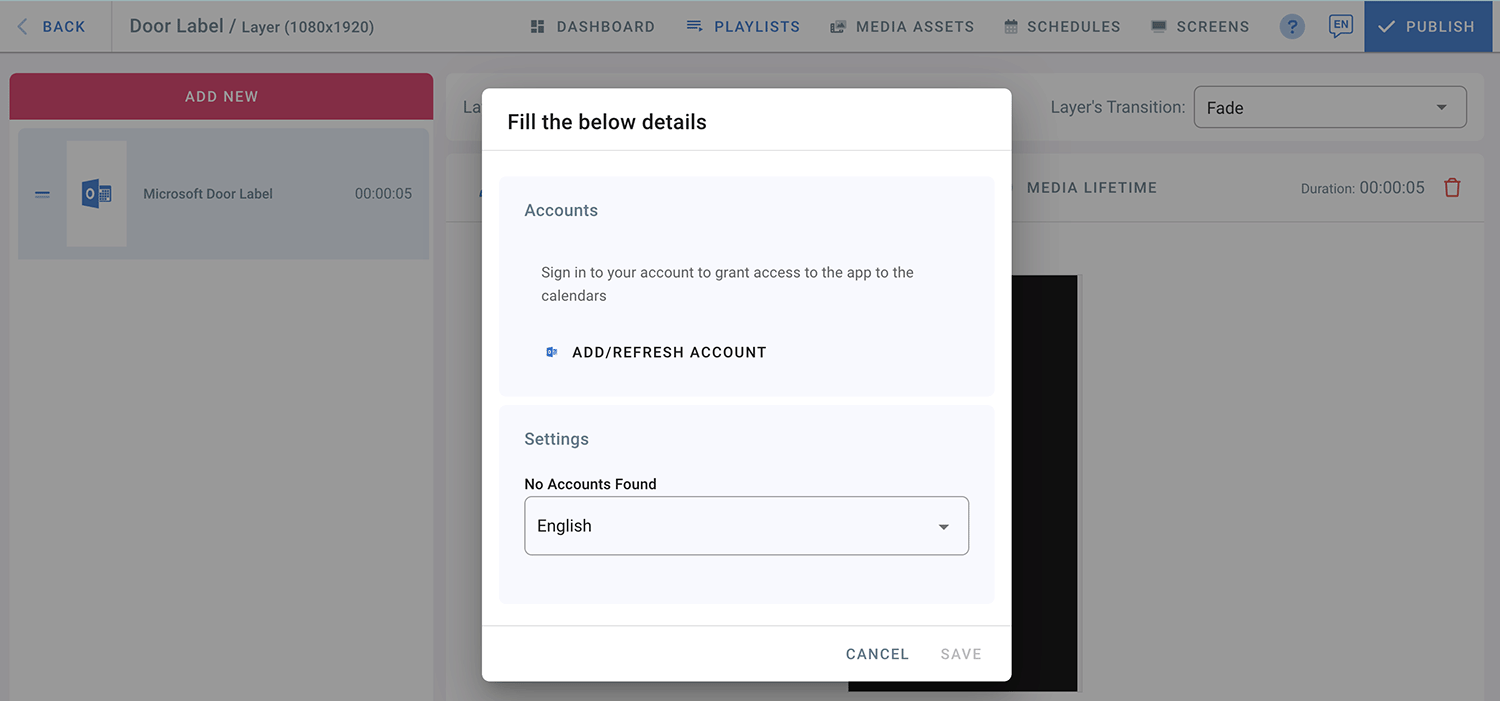
- Click on ADD/REFRESH ACCOUNT.
- A login page will open to sign into your Microsoft Account.

- Enter your email address.
- Click Next.
- Enter your email password.
- click sign in.
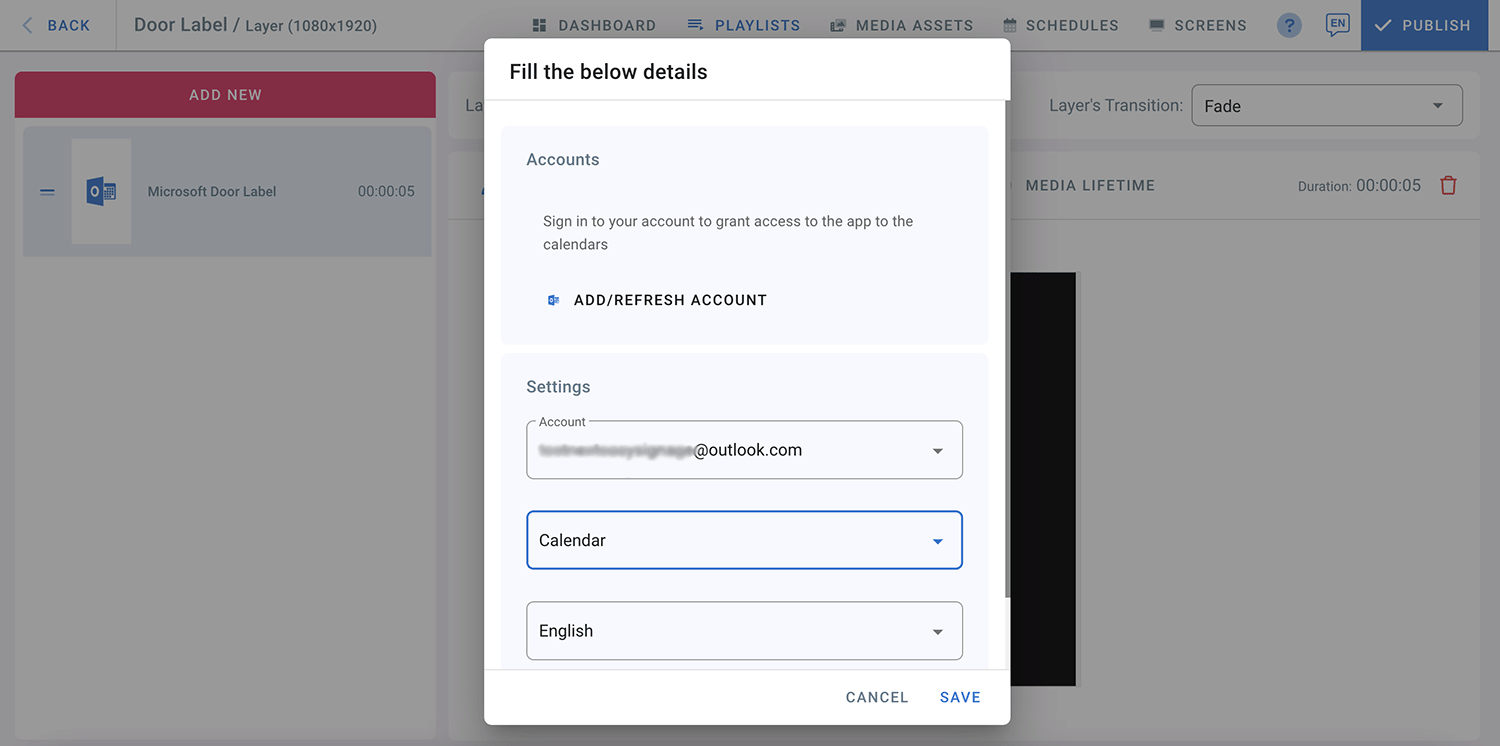
- Your Microsoft Account is now connected.
- From the drop-down list, select a calendar.
- Select a language for your Door Label.
- Click Save.
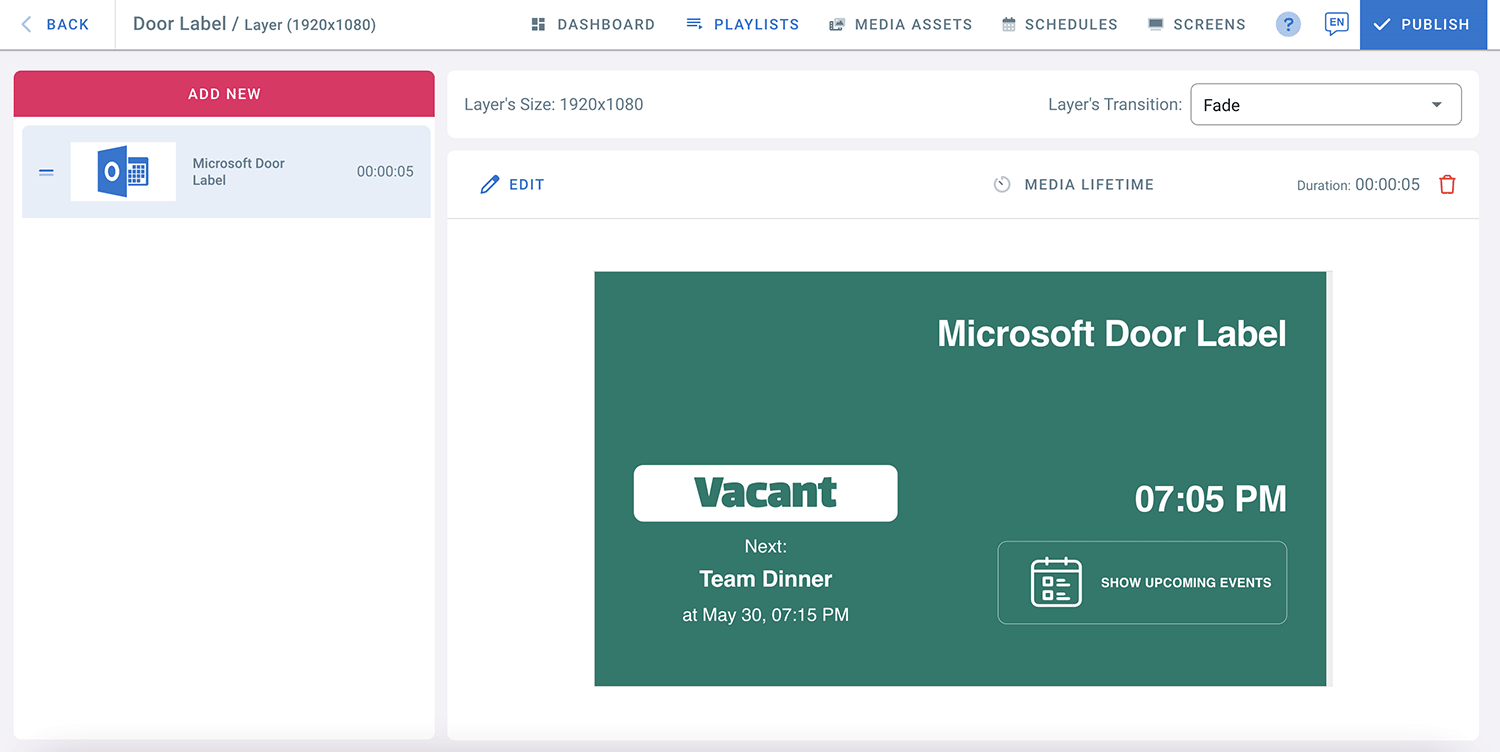
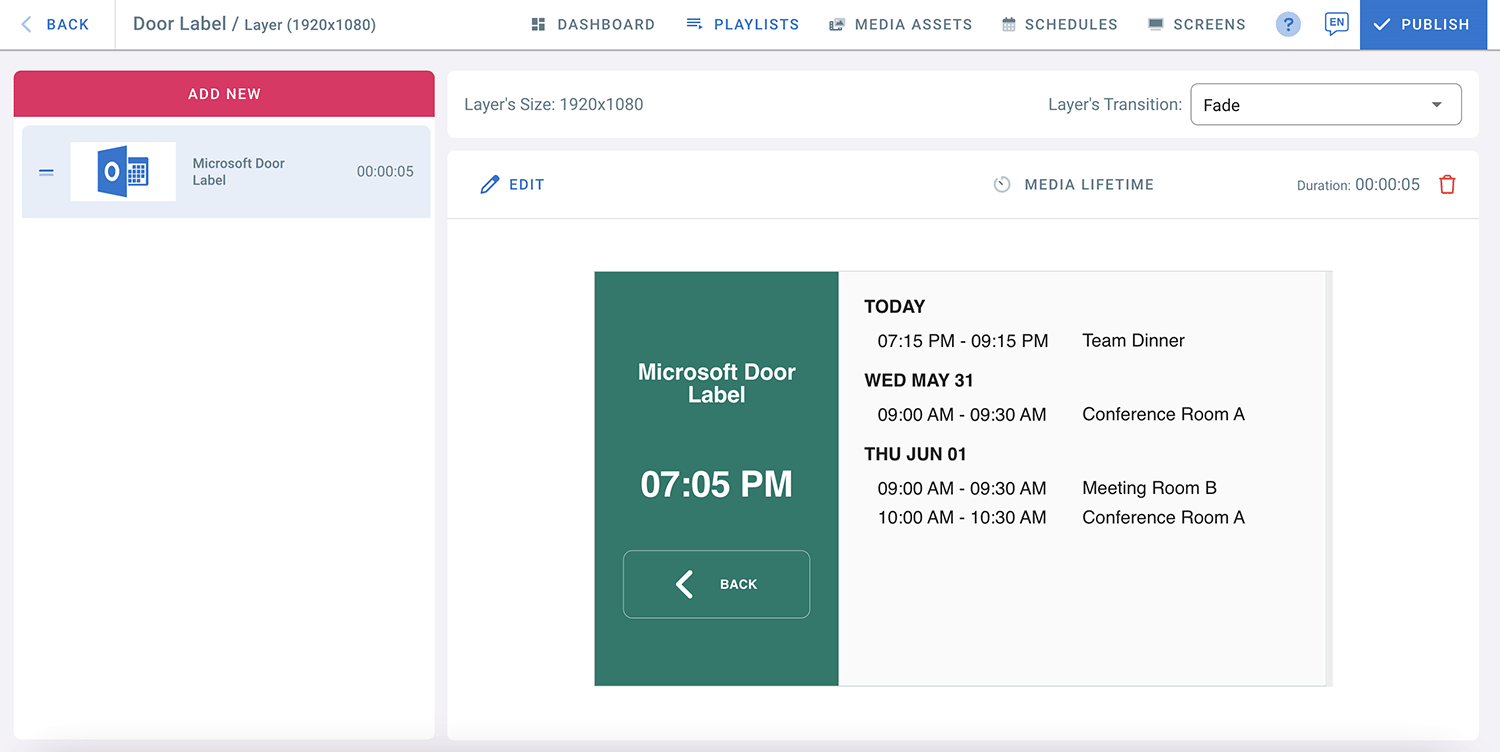
- Click on “Show Upcoming Events” to see what’s next on your calendar.
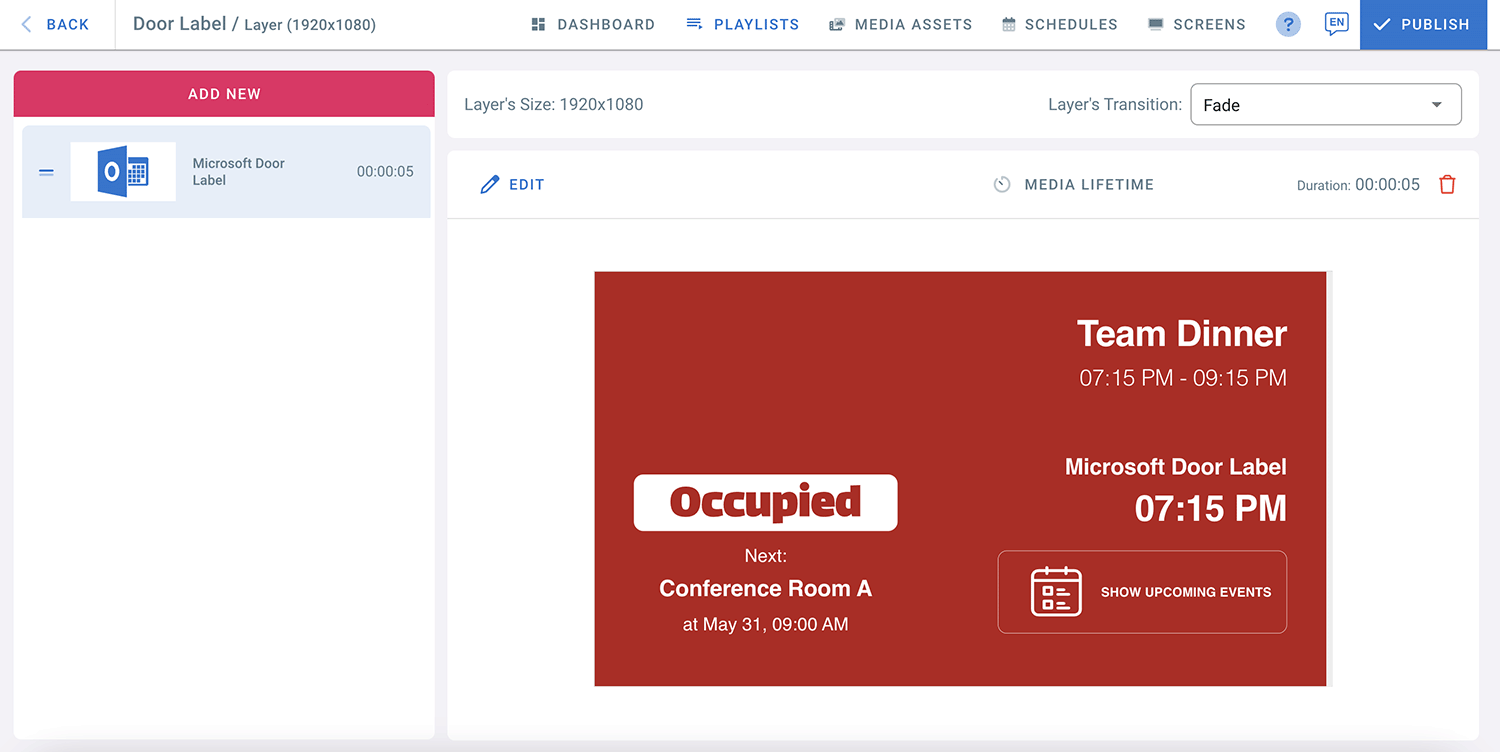
- When it is time for the event on your Calendar, your door label will change from vacant to occupied.
- To update your door label for any changes in your calendar, you need to refresh your account.
- Go to the door label layer.
- Click on EDIT
- Click ADD/REFRESH ACCOUNT in the media settings.
- Click Save.
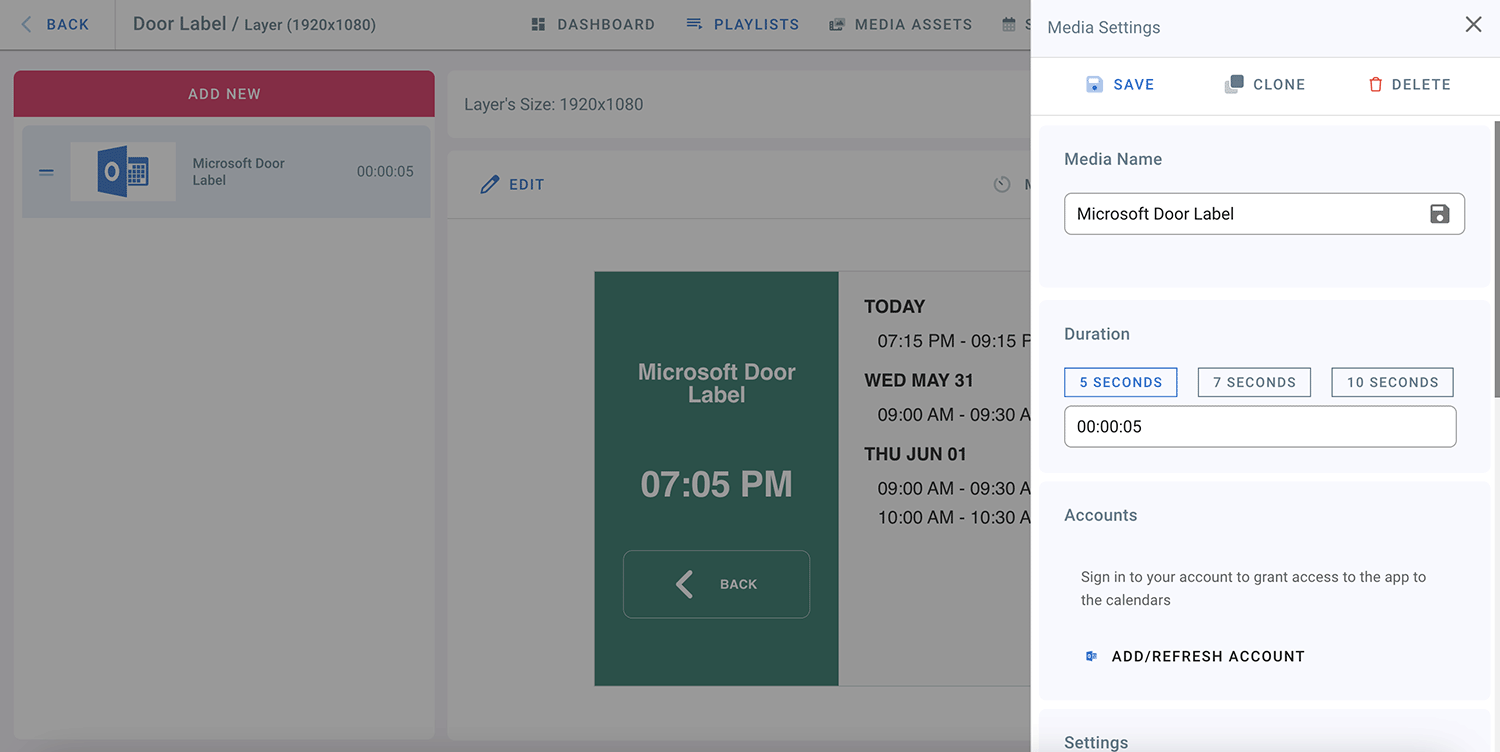
- To delete an account, click on EDIT.
- Click on REMOVE in media settings.
To add another Microsoft account to your Door Label:
- Sign out from your Microsoft account.
- Click on Edit in the Door Label Layer.
- Click again on ADD/REFRESH ACCOUNT.
- Log in Page will open.
- Sign in to another Microsoft Account.
- Enter the email Address and password and then click Sign in.
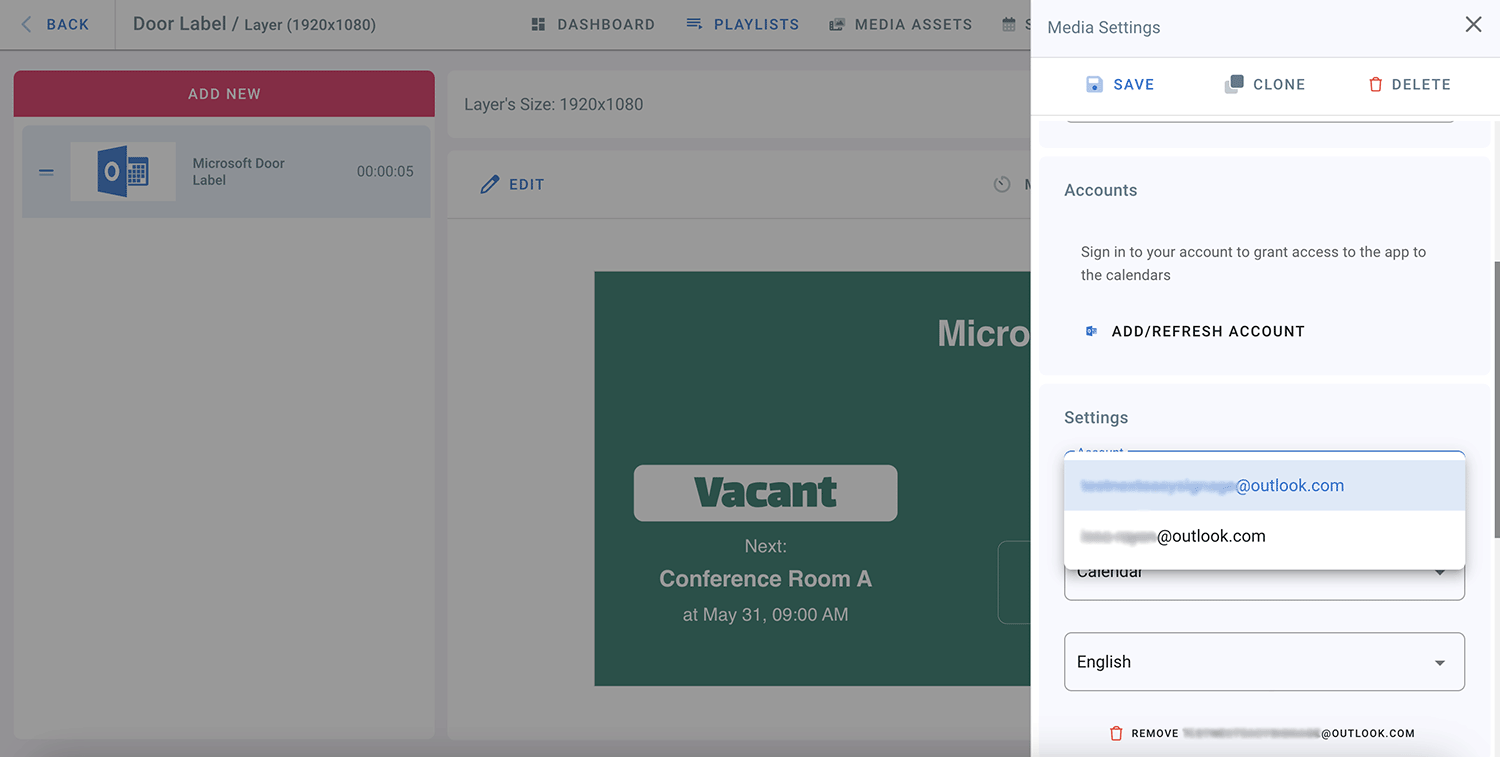
- The 2nd Microsoft Account is now connected to your Door Label.
- Select a Calendar for the new Microsoft Account added.
- From the Account drop-down list in the media settings, you can now switch between accounts.
If you choose Google Door Label:
- Click on “ADD/REFRESH ACCOUNT”.
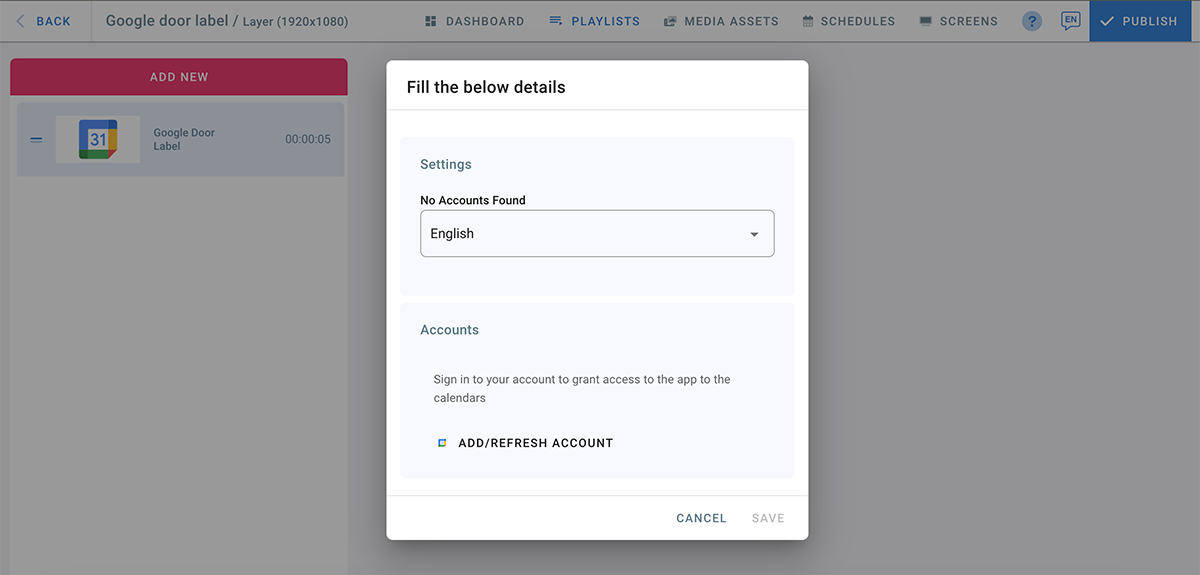
- Sign in with your Google Account.
- Click on “Continue” to allow digital signage to access your Google Account.
- Click on “Allow” to allow digital signage to see and download your Google Calendar.
- Your Google Account is now connected to the door label app.
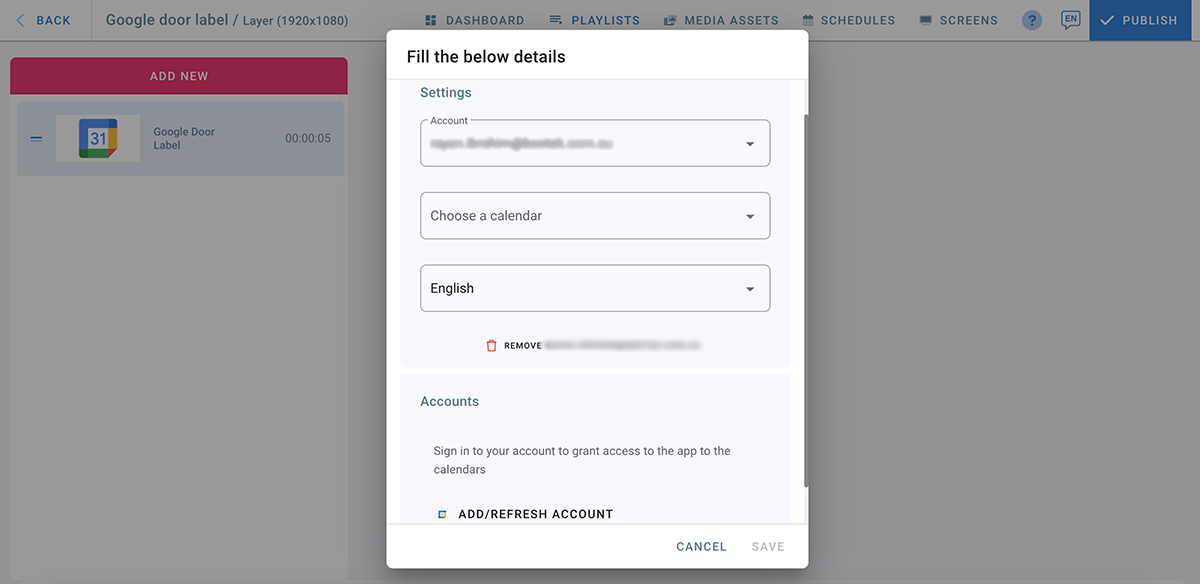
- Choose a calendar from the drop down list, then click on SAVE.
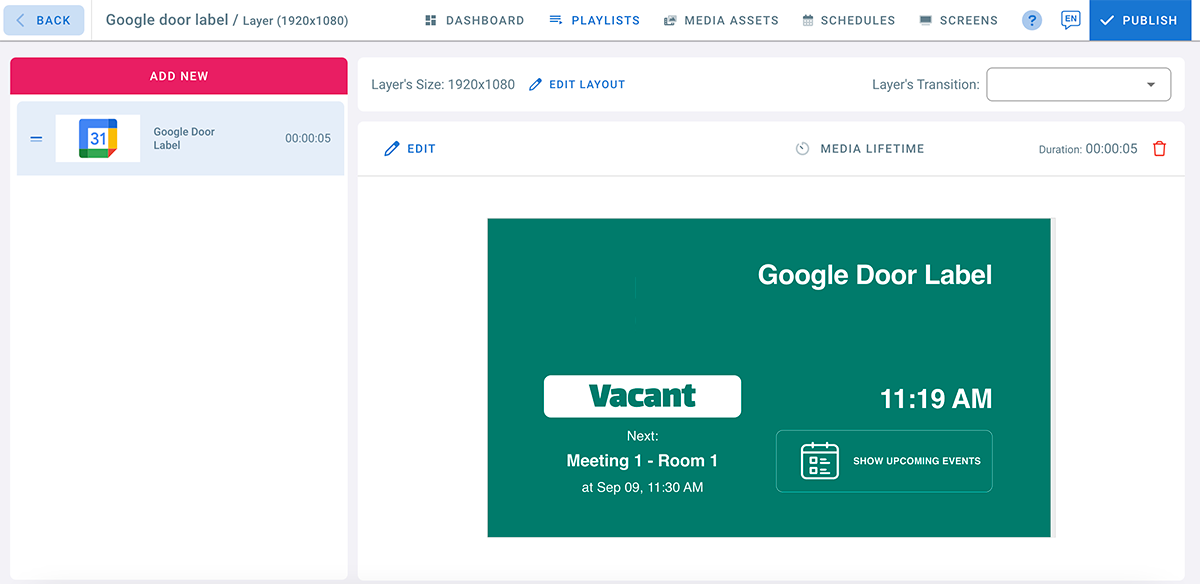
- You can click on “Show Upcoming Events” to see what’s next on you calendar.
- When it’s time for the event on your calendar, your door label status will change from vacant to occupied.
- To update your door label for any changes in the calendar, you need to refresh your account.
- To delete an account, click on Edit, and then click Remove in media settings.
To add another Google Account to your Door Label:
- Click on Edit in the Door Label Layer.
- Click on ADD/REFRESH ACCOUNT.
- “Sign in with google” Page will open.
- Enter the email address and password and then click Continue.
- Click on “Allow” to allow digital signage to see and download the Google Calendar.
- Select a Calendar for the new Google Account added.
- From the Account drop-down list in the media settings, you can now switch between accounts.
To add a logo to your Door Label:
- Click on the profile icon on the top right corner of your page.
- Go to Settings.
- Go to Calendars tab.
- Click on UPLOAD LOGO to upload a logo to be used by the door label app. (Door Label logo must be Max width: 600px - Max height 300 px)

- Browse your files and choose the logo you want to upload.
- Once uploading is complete, click on Done.
- To Edit your logo, click on Edit -> Click on Replace Logo -> Choose the logo you want to upload -> Done.
- Go to the Door Label playlist and check your logo.

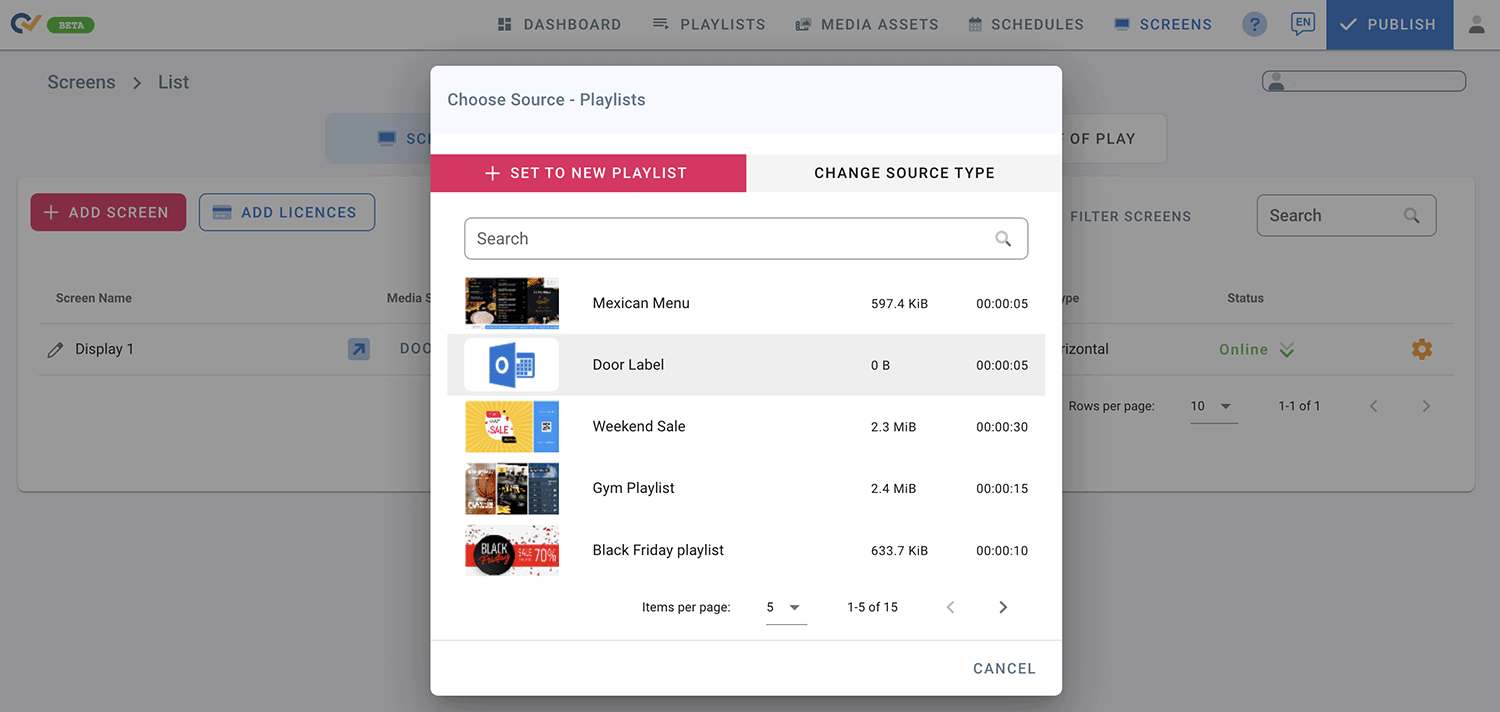
To display your Door Label on your Screen:
- Go to SCREENS page.
- Click on the Media Source(Source Type) on your Screen.
- Choose “Playlists” from the Source Type page.
- Click on Door Label Playlist.
- Click Publish.
- Now, your events will display on your door label screen.
