How to Install EasySignage Digital Signage Player on Chrome OS
Introduction
This document provides a step-by-step tutorial on how to install EasySignage Digital Signage Player on a Chrome OS device using Kiosk & Signage License from Google Workspace. This process ensures that EasySignage runs in kiosk mode, providing a seamless and secure digital signage solution.
Prerequisites
- Chrome OS Device: Ensure your Chrome OS device is powered on and connected to the internet.
- Google Workspace Account: You need admin access to Google Workspace to manage devices.
- Kiosk & Signage License: Ensure you have the Kiosk & Signage License assigned to your Chrome OS device.
- EasySignage Account: Sign up at EasySignage if you don’t have an account.
Step-by-Step Installation Guide
Step 1: Sign in to Google Admin Console
- Open your browser and go to Google Admin Console.
- Sign in with your Google Workspace admin credentials.
Step 2: Enroll Chrome OS Device
- Factory reset your Chromebox if it was previously used as a personal device.
- Sign out of your Chromebook.
- Press and hold Ctrl + Alt + Shift + r.
- Connect your Chromebox to the screen and make sure it has a stable internet connection.
- Select Get Started
- On the “who is using this Chromebox” page - Select enterprise enrollment in the bottom left corner of the screen
- Enter your Google Enterprise account details to log in, and then select ‘done’.
- The device will then restart. After restarting, you will be prompted to sign in to your chromebox using the same login credentials as your Google Enterprise account.
- Select accept and continue
For more information see the Google help guide here - https://support.google.com/chrome/a/answer/1360534
Step 3: Assign Kiosk & Signage License
- In the Google Admin Console, navigate to Devices > Chrome > Devices.
- Find and select the device you want to set up.
- Click on the device name to open its settings.
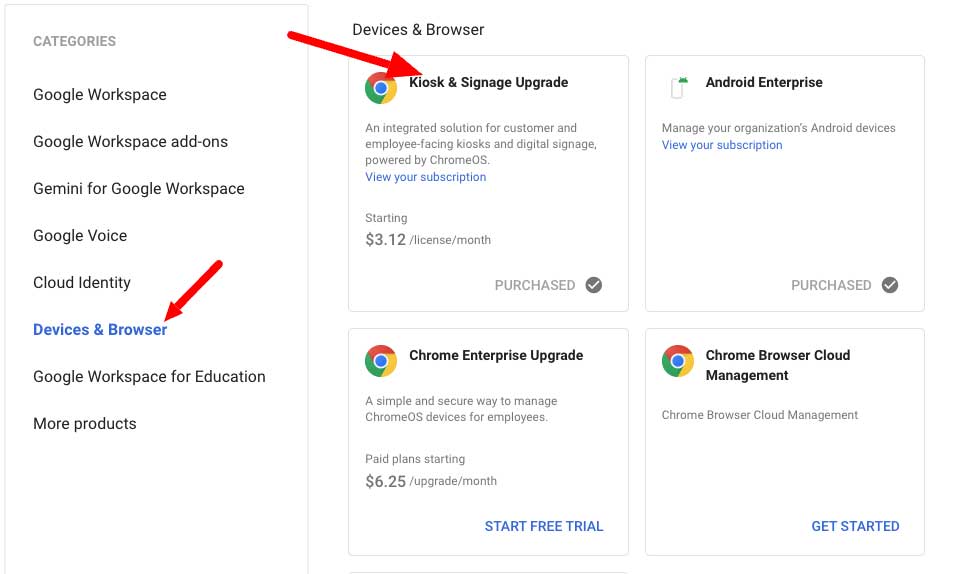
- Under Licenses, ensure that the Kiosk & Signage License is assigned.
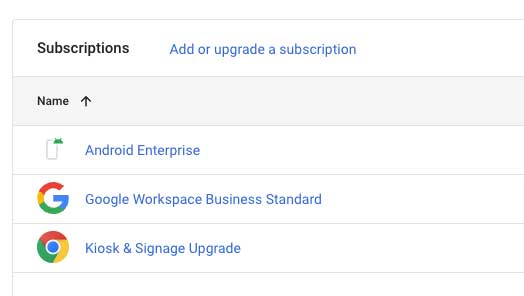
- If you dont have active Kiosk & Signage licences, go to subscription and add licences
Step 4: Configure Device Settings for Kiosk Mode
In the Google Admin Console, navigate to Devices > Chrome > Apps & extensions > Kiosks.
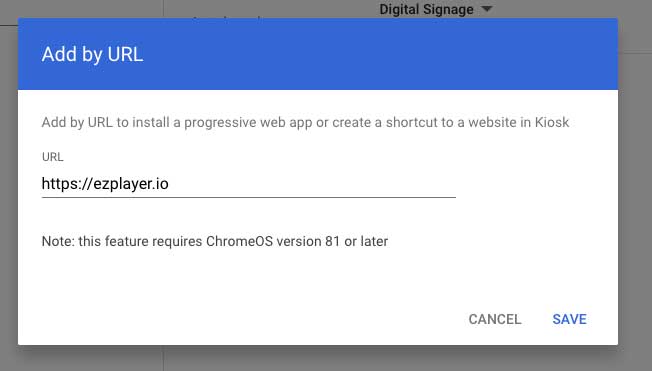
Click on Add and then add by URL
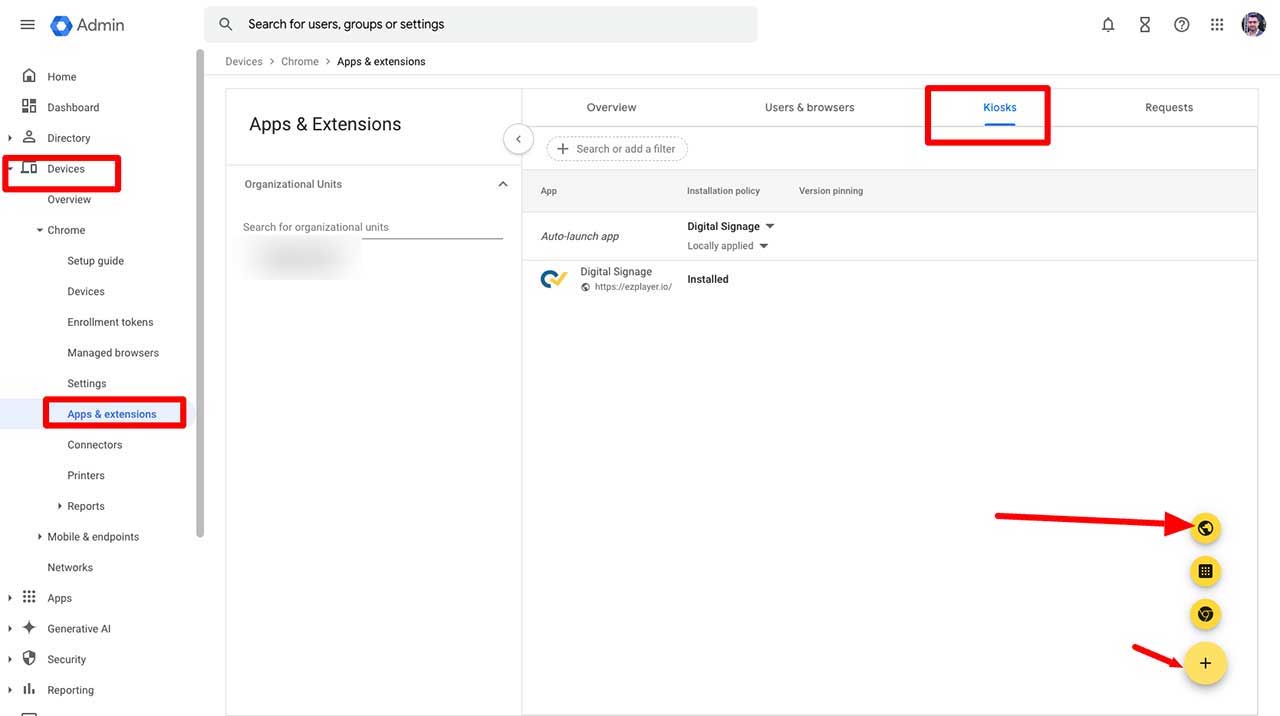
- Use the
https://ezplayer.ioin the URL as below, then click Save
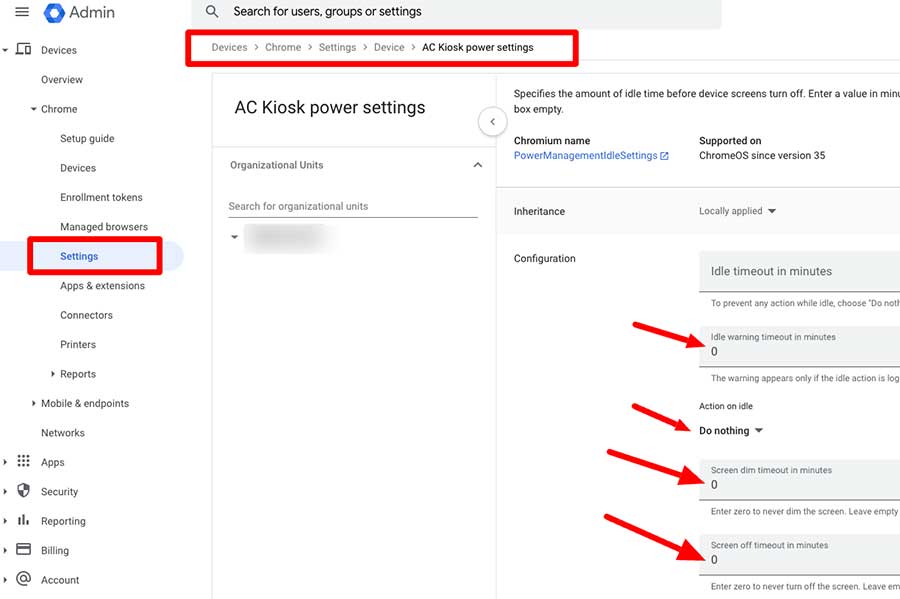
- Set AC Kiosk power settings to never sleep
