- Start your FireTV stick and follow the setup guild
- Download EasySignage Digital Signage from Amazon App Store
- Click on Get
- Wait for It to install
- Click on Open
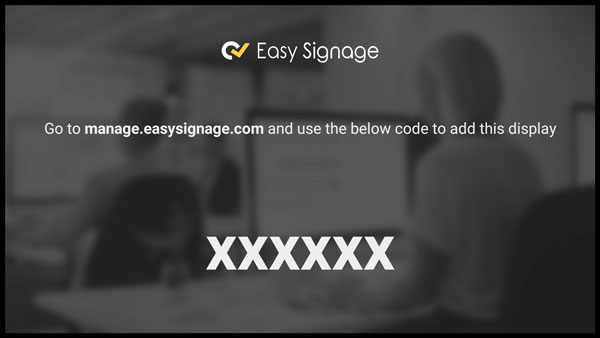
- Wait for a few seconds, the hash will appear
- You can now add your screen from the management console
- Enable the automatic updates on your Amazon Fire TV/Stick Settings -> Application -> Appstore -> Automatic Updates -> Select “ON“
Disable Sleep Mode
To prevent your device from going to sleep or your app from closing, disable the Sleep mode feature with these steps.
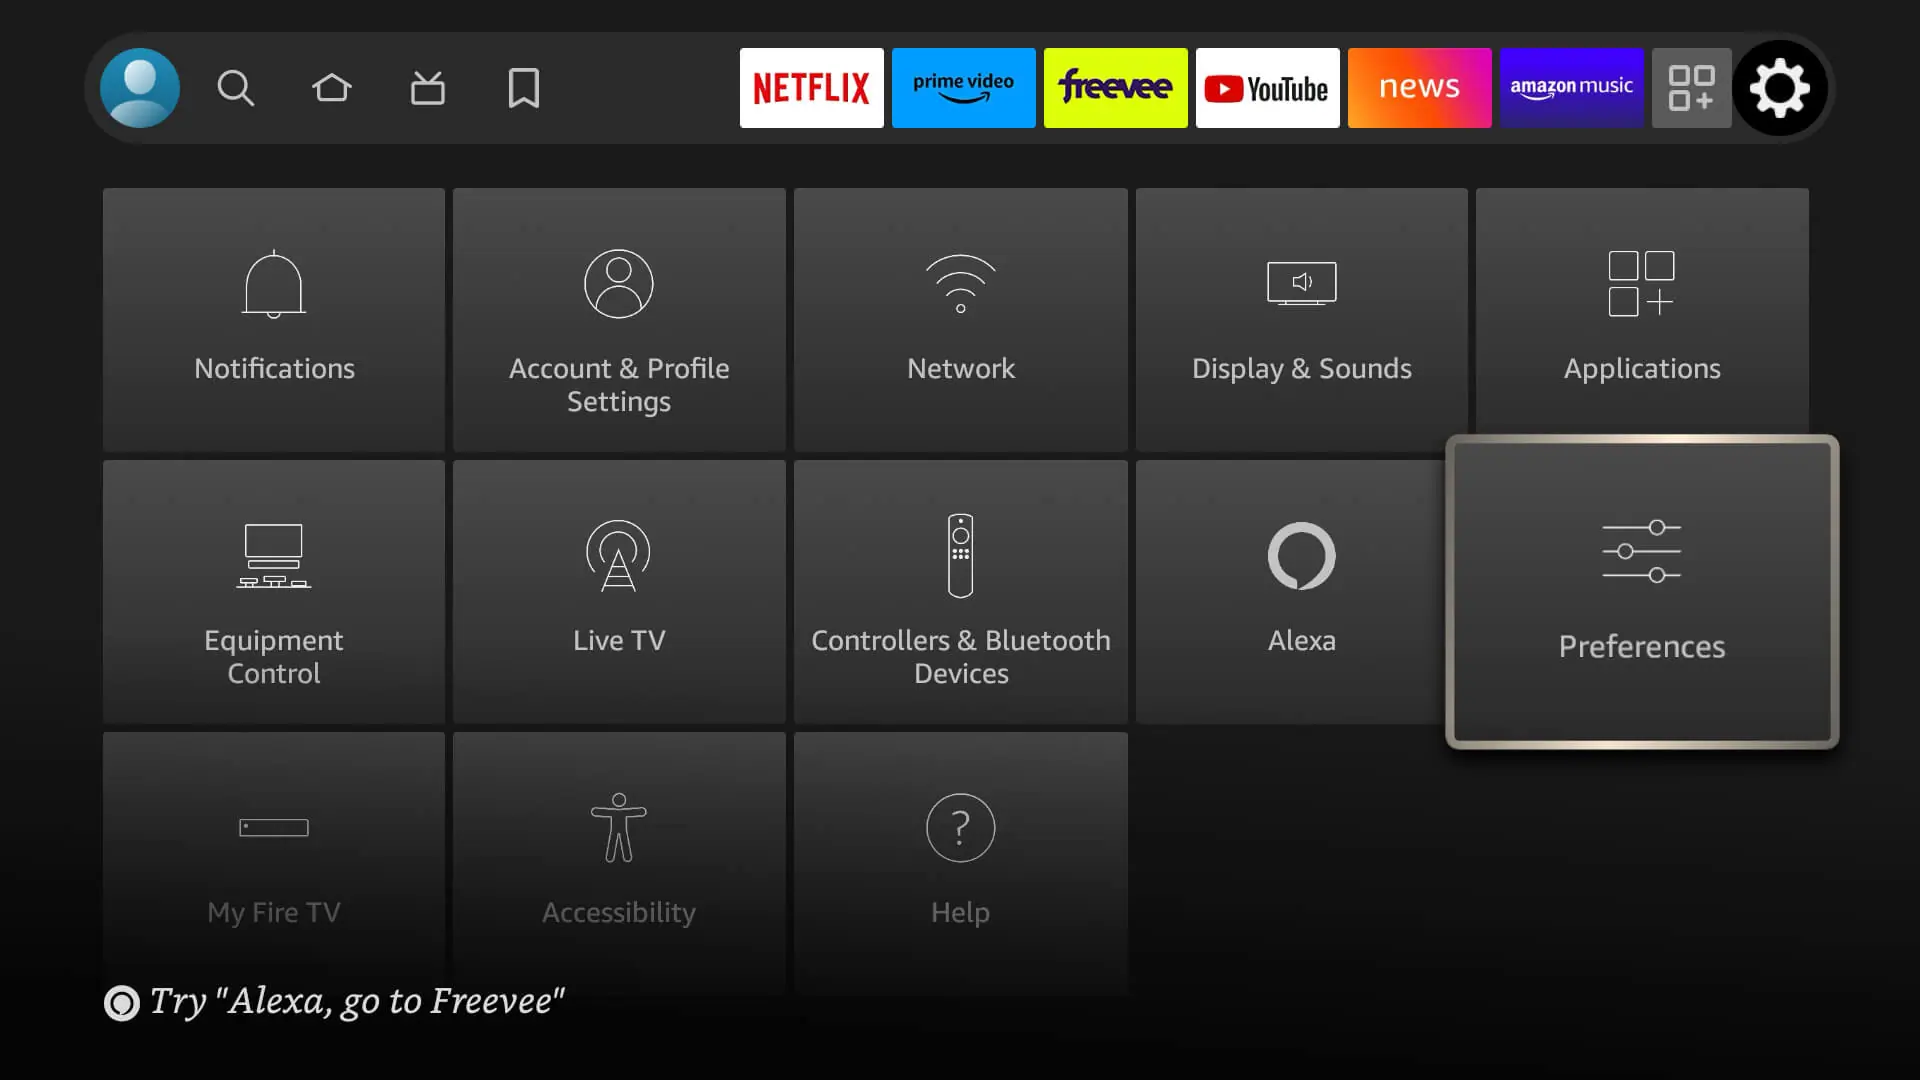
Click on the Settings button of your Firestick
Go to Preferences
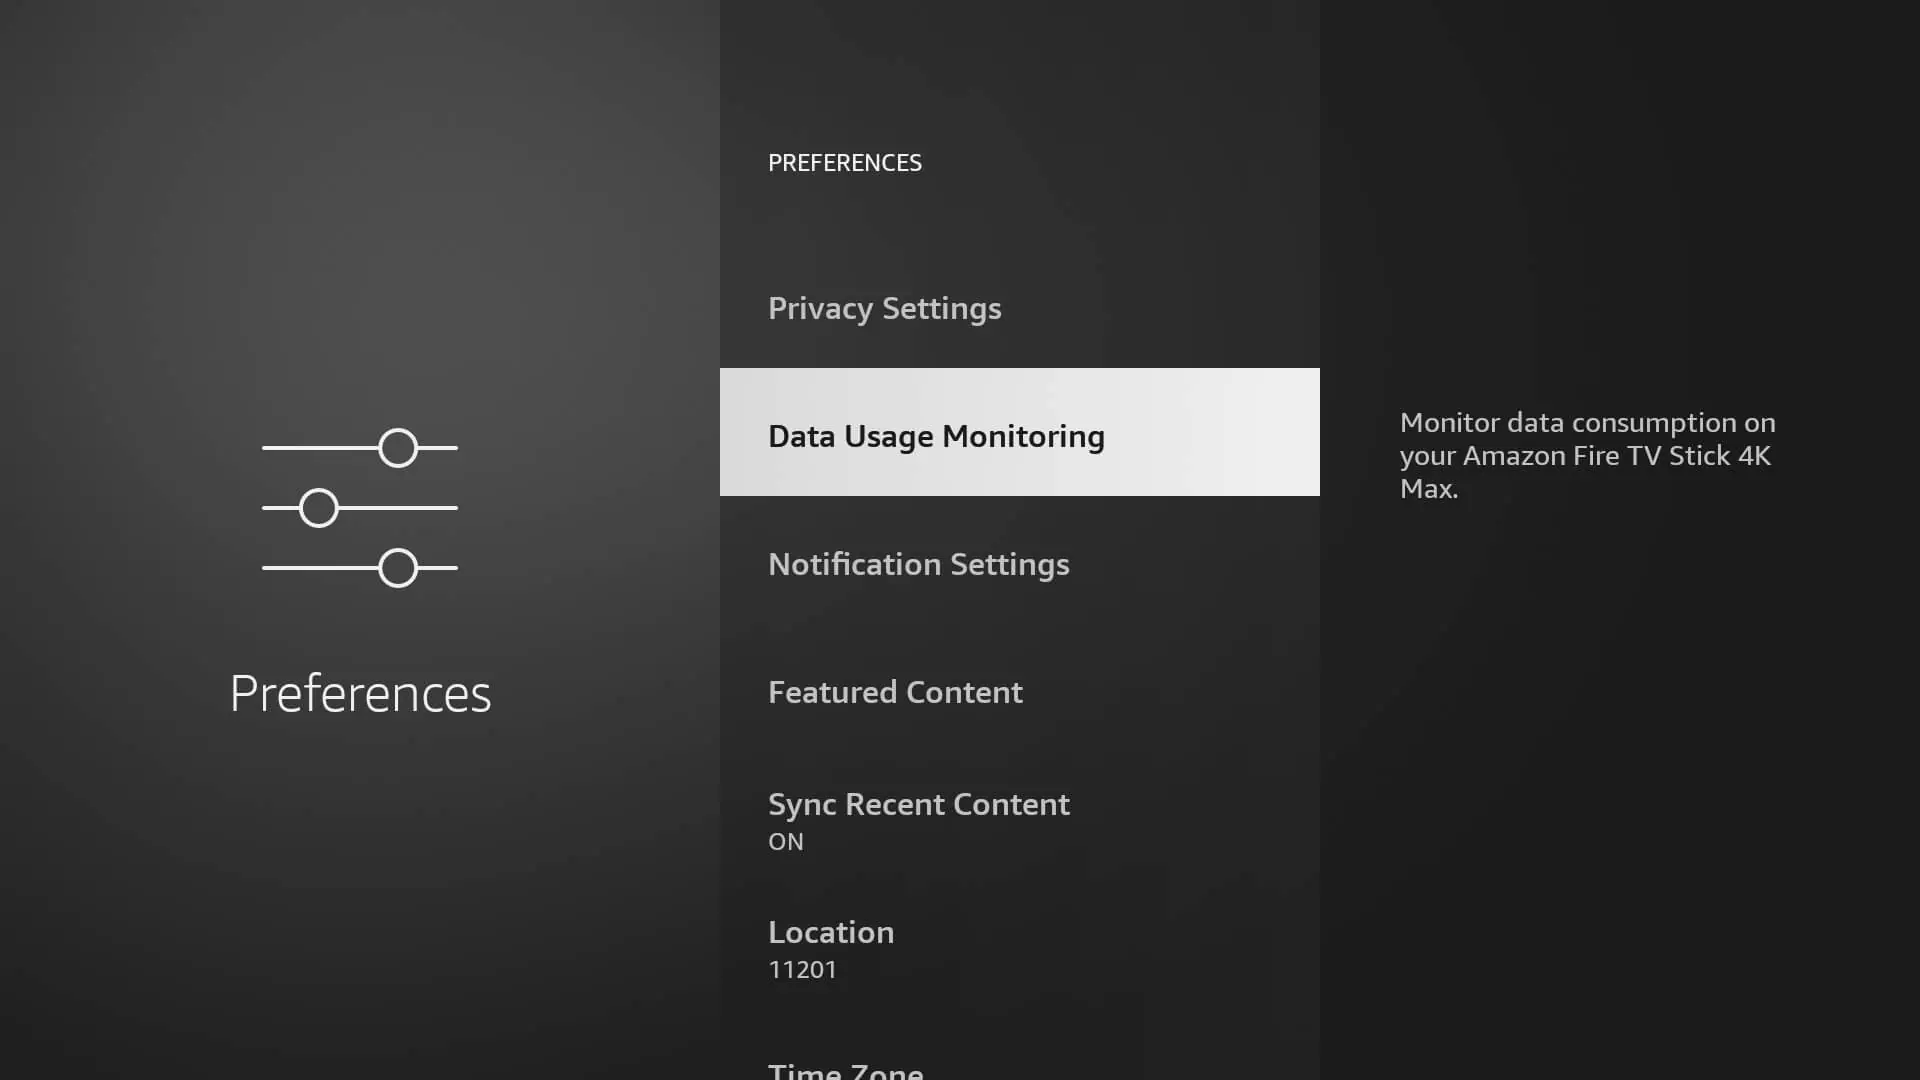
- Click on ‘Data Usage Monitoring’
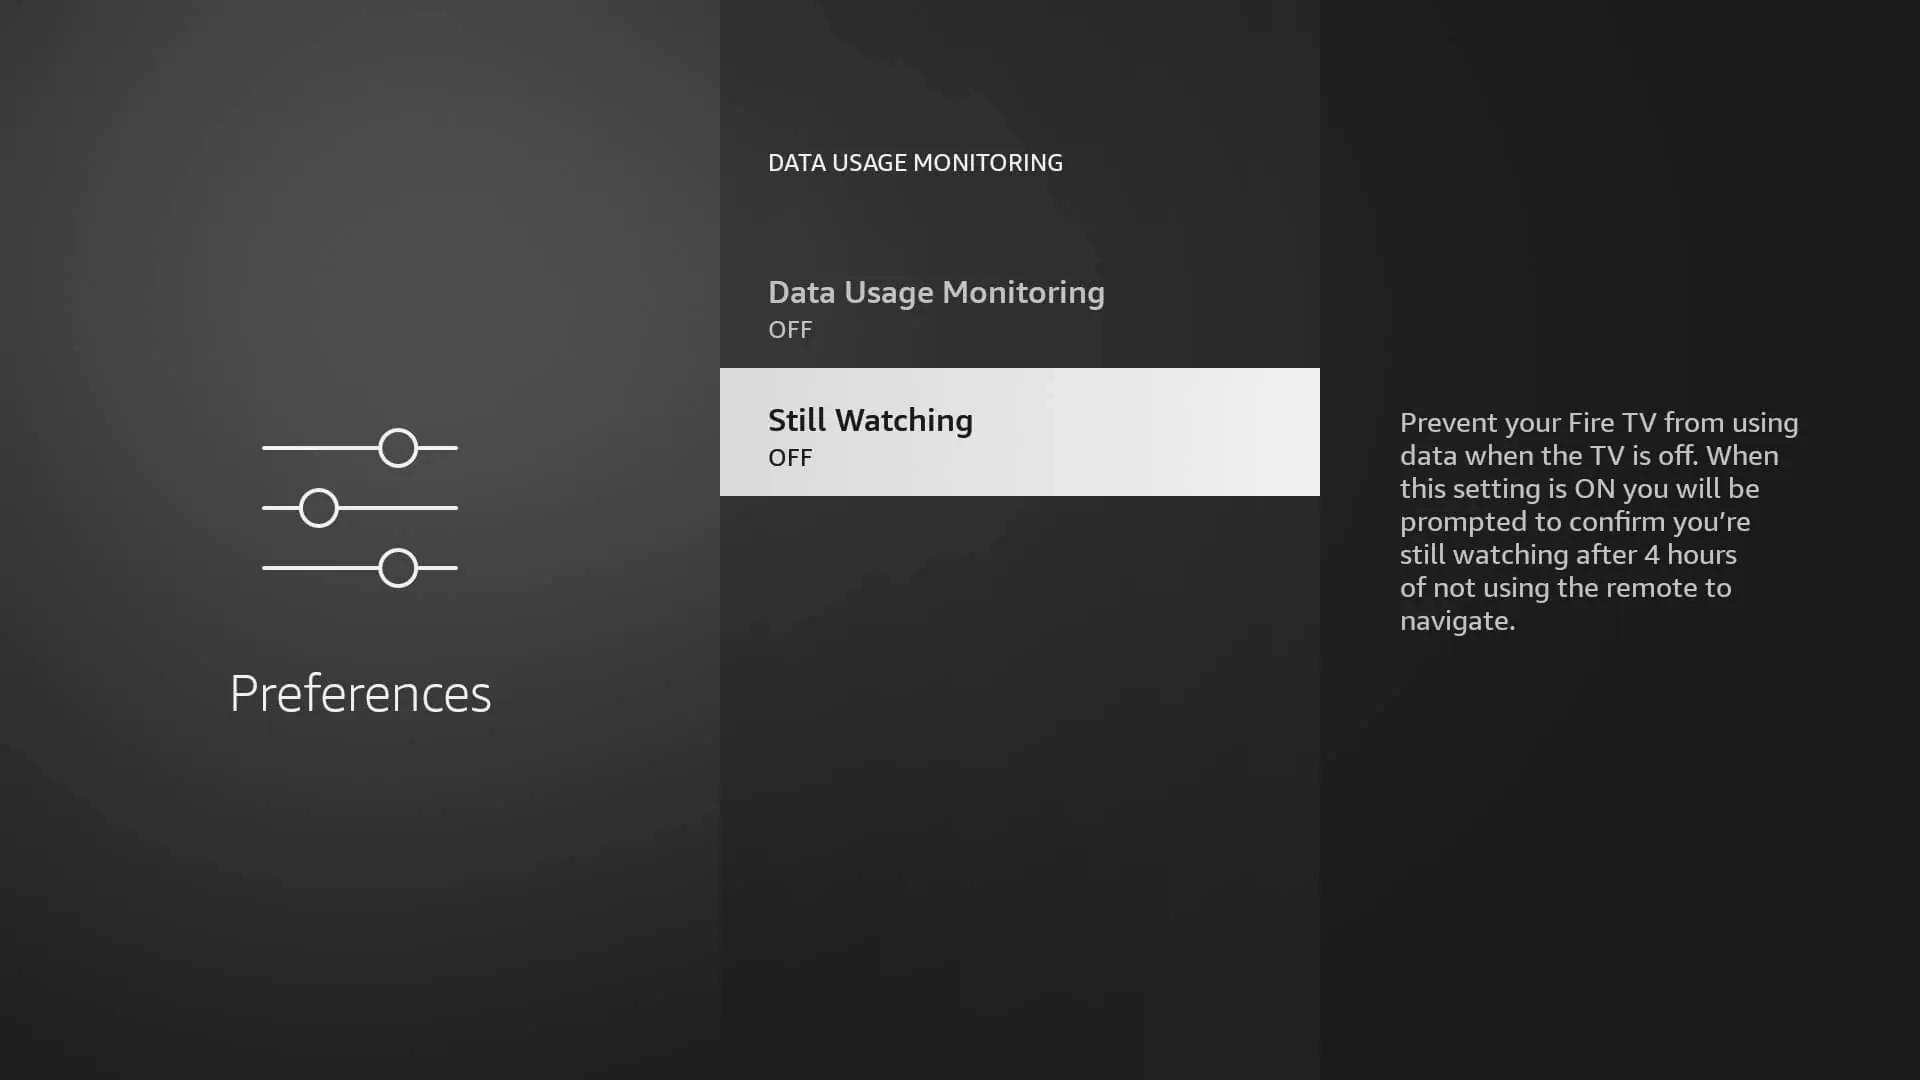
- Turn the ‘Still Watching’ setting to ‘Off’ along also disable other options if any.
Launch on boot on the FireTV stick 4K (2nd Gen)
This manual is designed for Fire OS 8 operating devices, including the 2nd Generation Fire TV Stick 4K. If you are using Fire OS 7 or an older version, you do not need any specific procedures to enable automatic launch on boot.
On the FireTV stick,
- In the Home page, Go to Settings
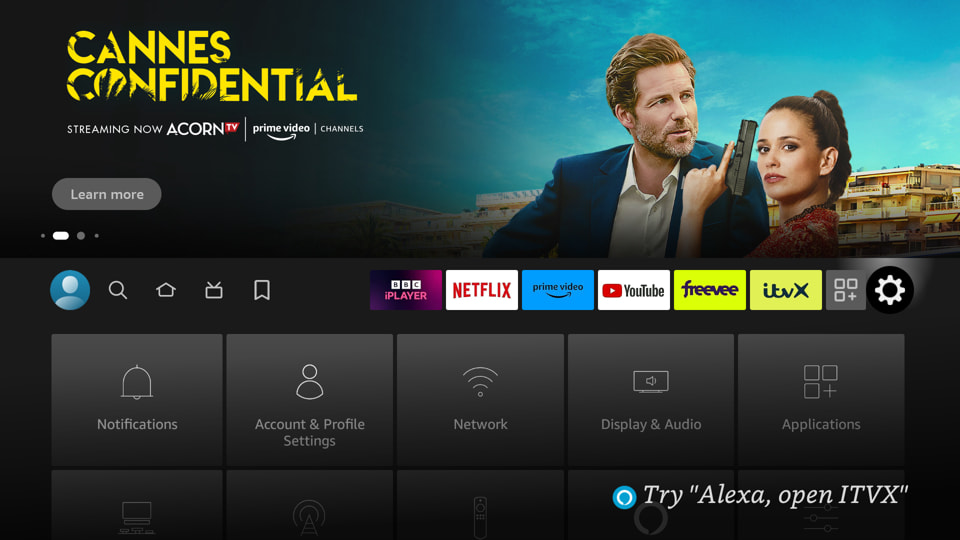
- Select My Fire TV from the settings menu and choose it
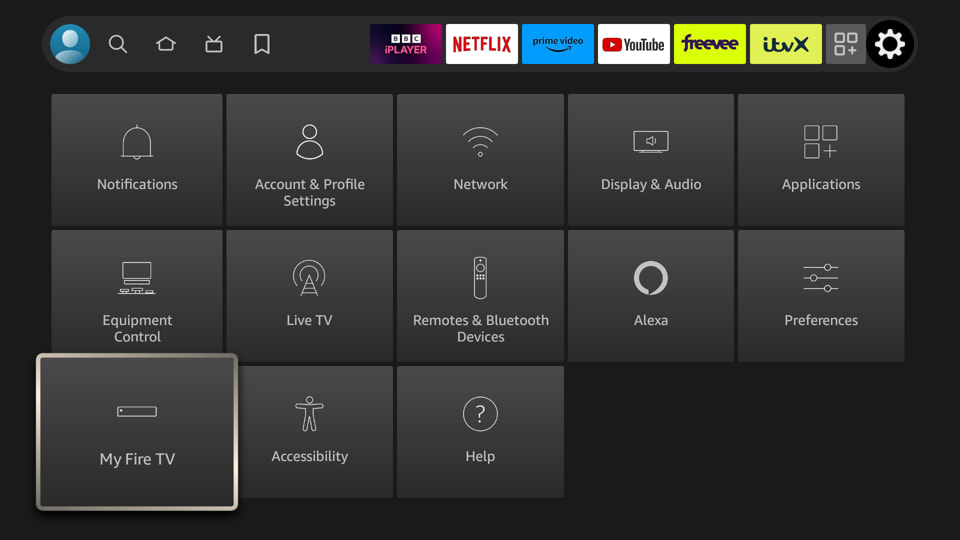
- Click on About
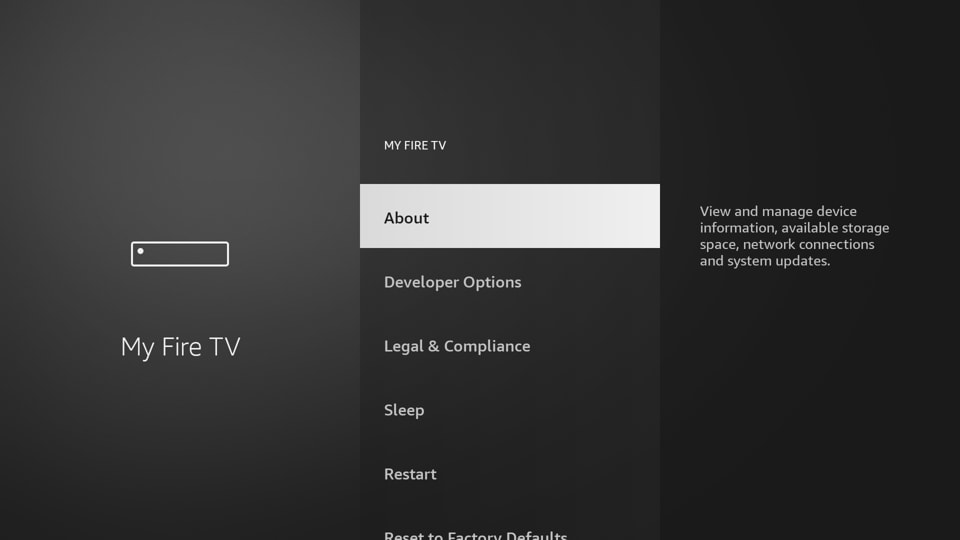
- Click 7 times on the Fire TV stick name
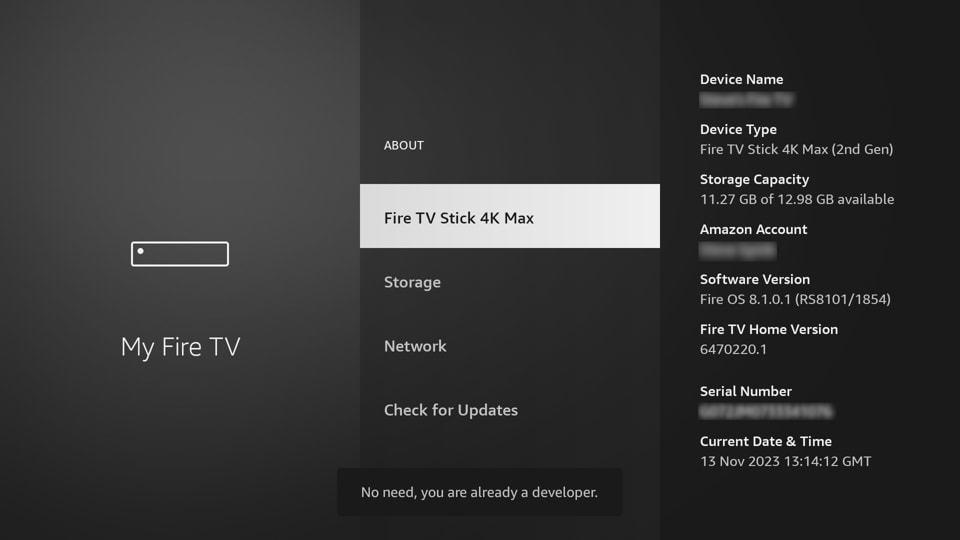
- It will notify you that you have become a developer
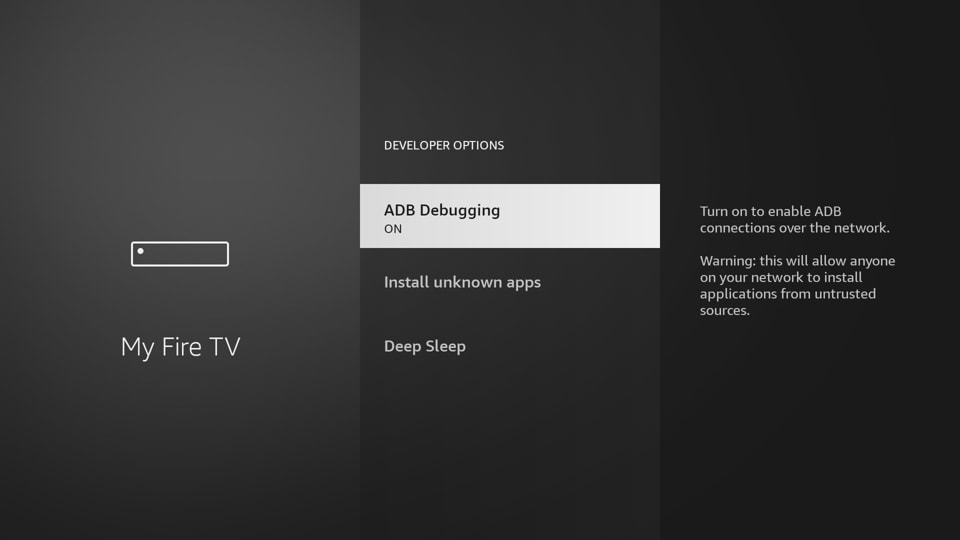
- Go Back and Click on Developer Options
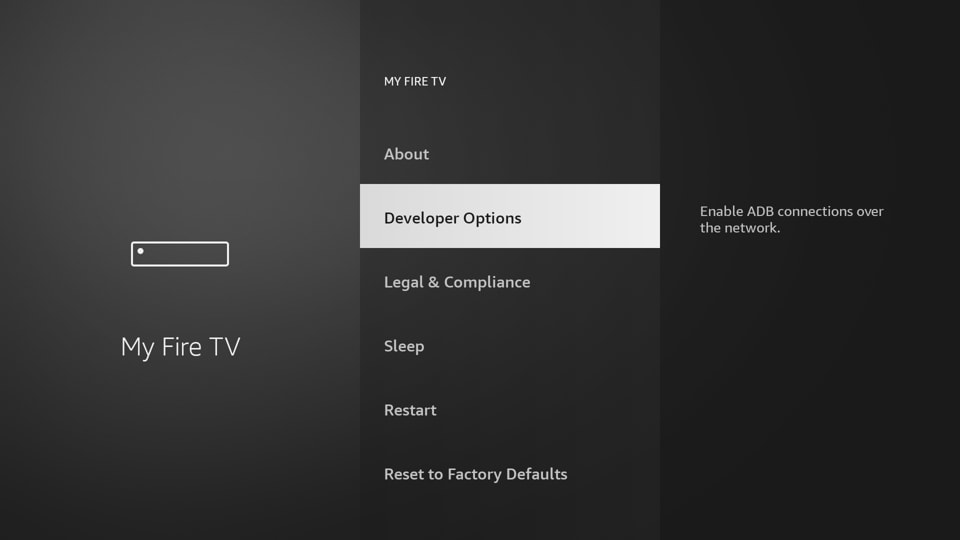
- Click on ADB Debugging to enable it
From Easysignage Portal manage.easysignage.com
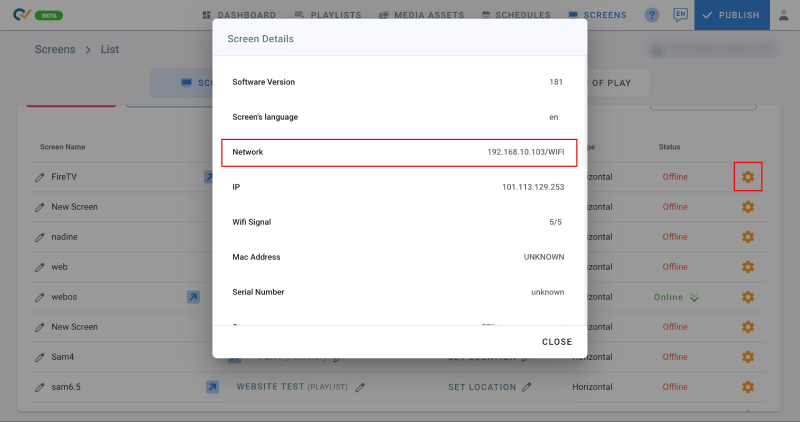
- Go to screens page, and click on your screen’s Settings
- Click on Screens Details
- Scroll Down and locate the Local Network IP Address, as shown below
- Copy it, we will use it to connect to the device
On a PC/Laptop:
Download the standalone Android SDK Platform Tools package for your PC OS, which installs adb under android_sdk/platform-tools/
Open a Terminal or Command Prompt and run the following commands:
adb connect [paste the device IP address]
adb shell appops set beetek.easysignage SYSTEM_ALERT_WINDOW allow
adb shell appops write-settings
Open EasySignage app, then restart the player. After booting the device, the EasySignage app should automatically start within seconds