This Guide is only intended for Android-based Vestel digital signage screens.
Step 1: Get the APK file
Download the latest APK from https://download.easysignage.com/latest.apk
Copy it to a USB disk.
Plug the USB disk into the TV, locate the USB port on your Vestel TV depending on your model.
Press the power button to turn on the TV.
Step 2: Vestel TV Setup Wizard
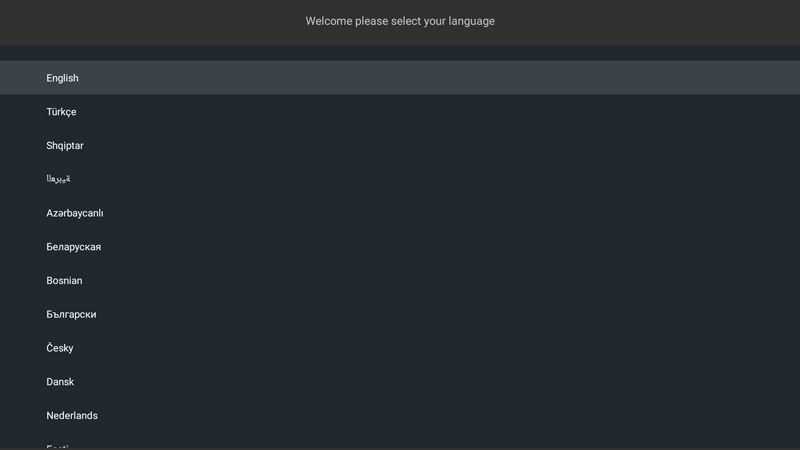
- When the TV boots for the first time, using the remote control or using a keyboard, choose your preferred language.
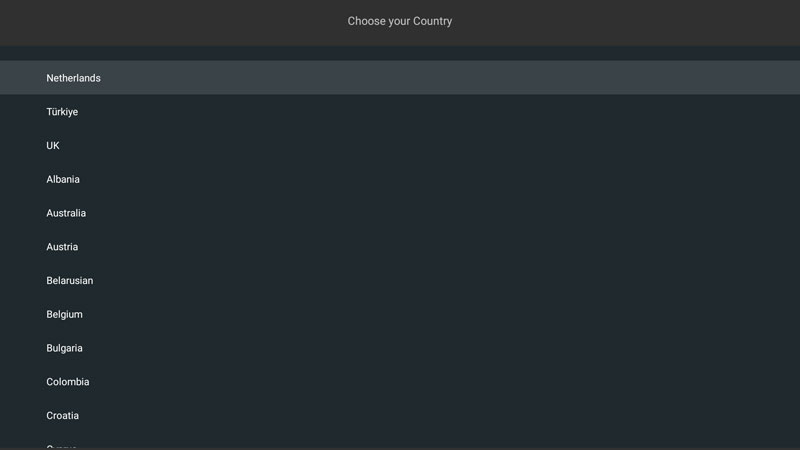
- Choose your Country, or Other.
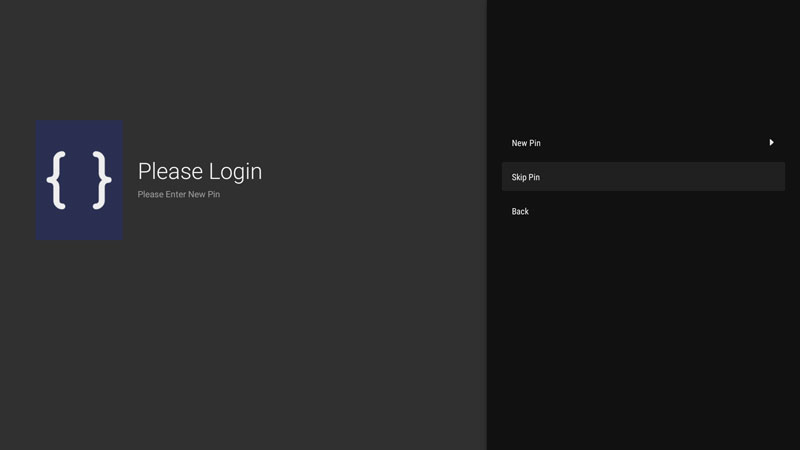
- Choose Skip Pin.
- Choose your preferred Orientation, then Next.
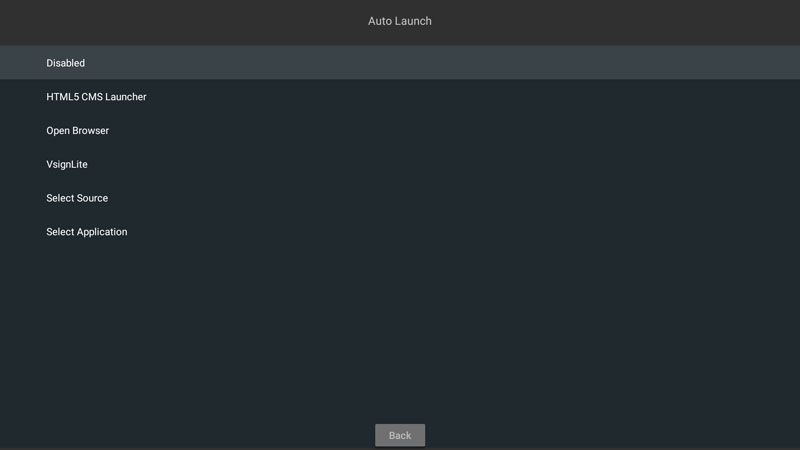
- Keep Auto Launch Disabled for now.
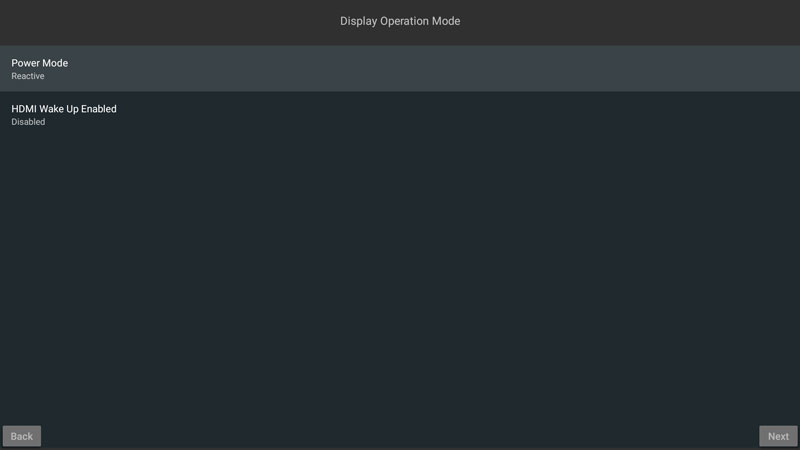
- Set Power Mode to Reactive, this is an important step if Power Management is needed.
- Choose Network Type (Wired or Wireless).

- If You choose wireless, setup your wifi settings,
- Set Networked Standby Mode to On, then Next.
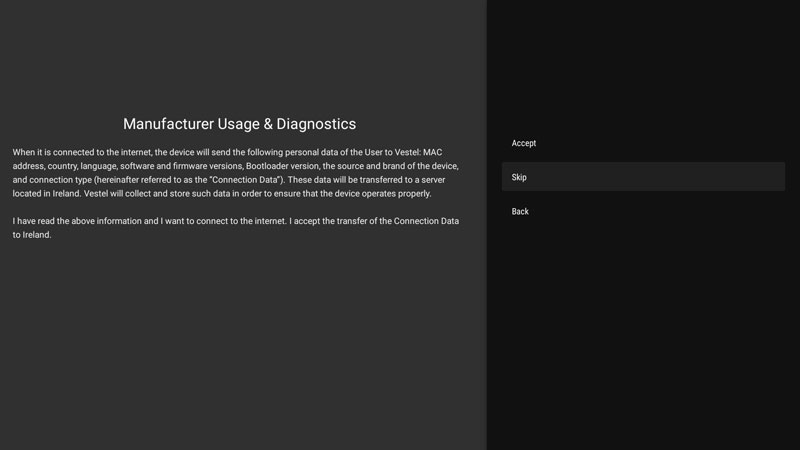
- For Manufacturer Usage and Diagnostics, Click Accept or Skip.
Step 3: Install from USB
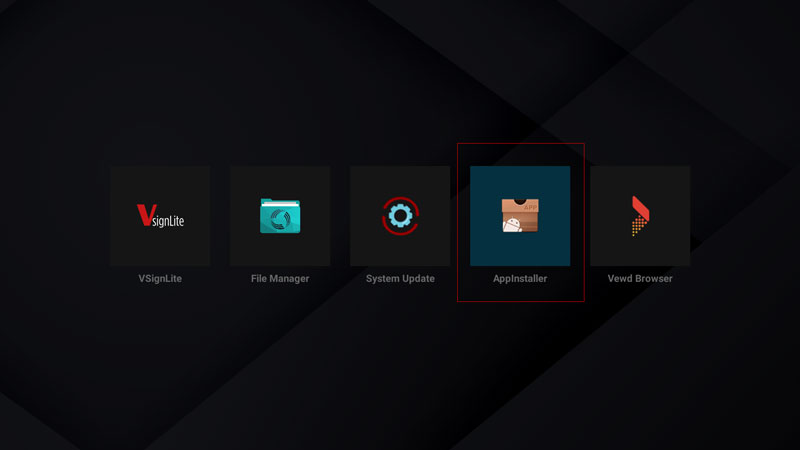
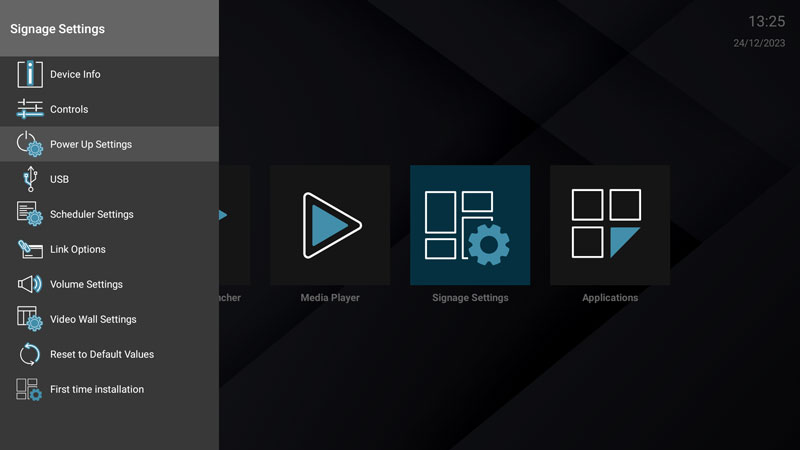
- After the setup wizard, in the menu, navigate to and press on Applications.
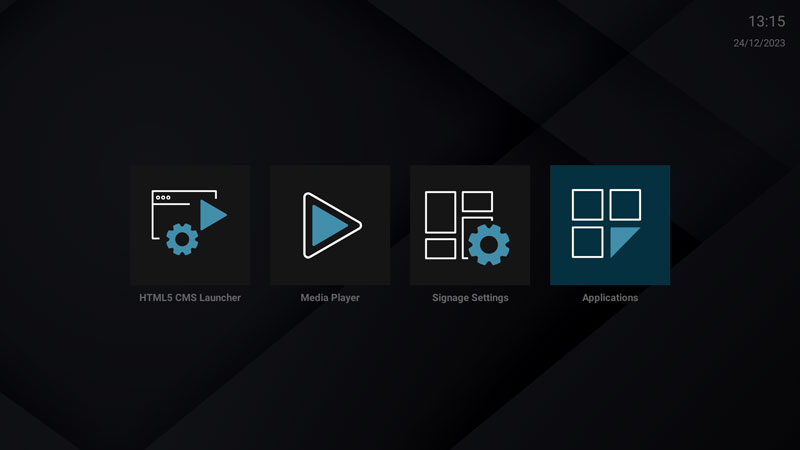
- Choose AppInstaller
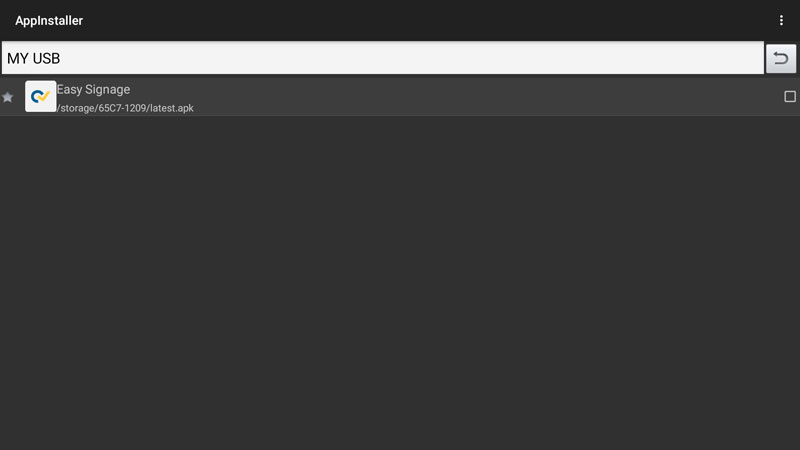
- Choose your USB device.

- Choose Easysignage file
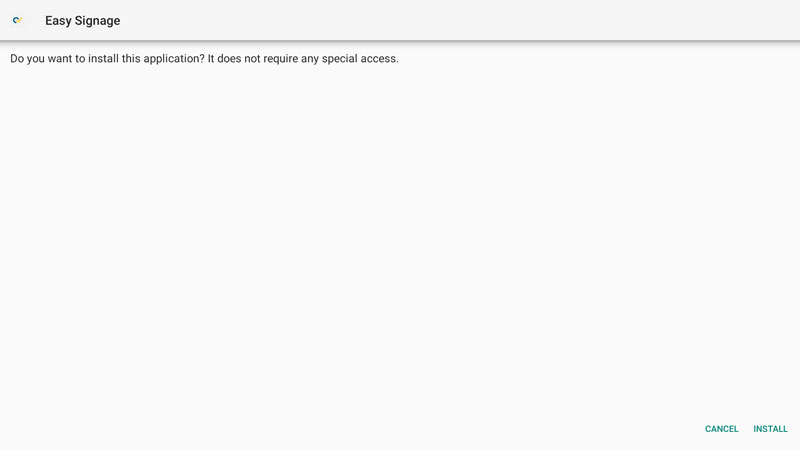
- Press on Install
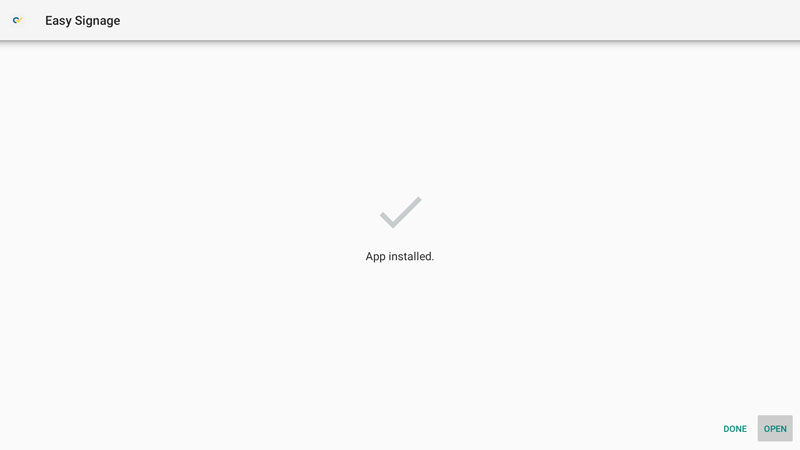
- Press on Open
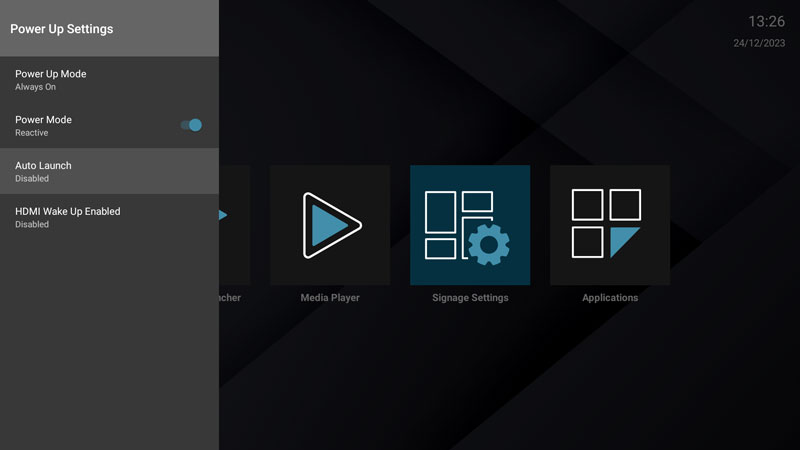
Step 4: Power Up Settings
- Press on Menu from the remote control
Choose Power Up Settings
Make sure Power Mode is set to Reactive
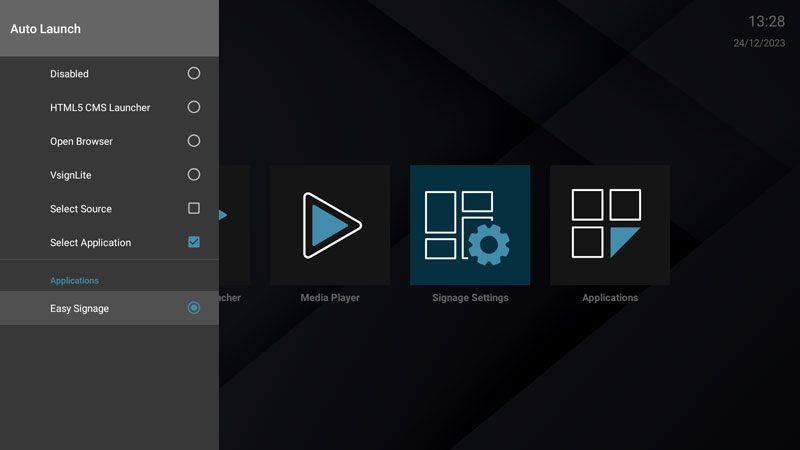
Choose Auto Launch
- Choose Select Application, then Easysignage
Step 5: Display Hash
Open Easysignage application
Wait for a few seconds until the hash screen appears
Use the displayed hash to register the display on manage.easysignage.com