Prerequisites:
Azure AD is your Identity provider
SAML 2.0 SSO configuration works with the following Azure Plans:
- Pro Plus
- Enterprise plan
You have a sub domain of CloudHexa and you require SAML 2.0 SSO to authenticate your users.
Configurations needed in your Azure AD console
Important: Login to Azure AD as admin
Add an Enterprise Application in your Azure AD portal:
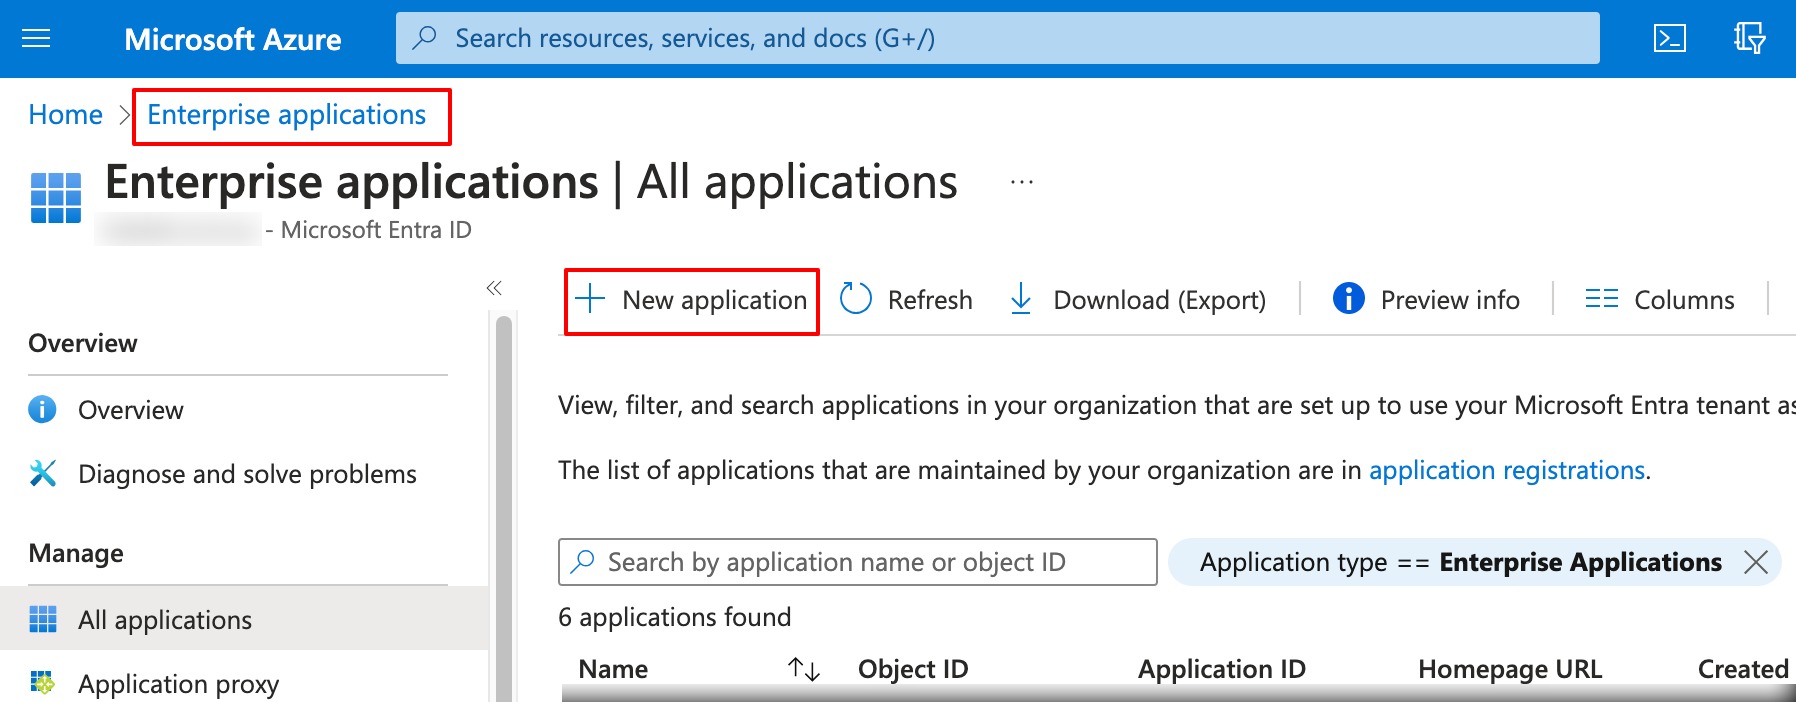
- Go to Enterprise applications.
- Click on New Application.
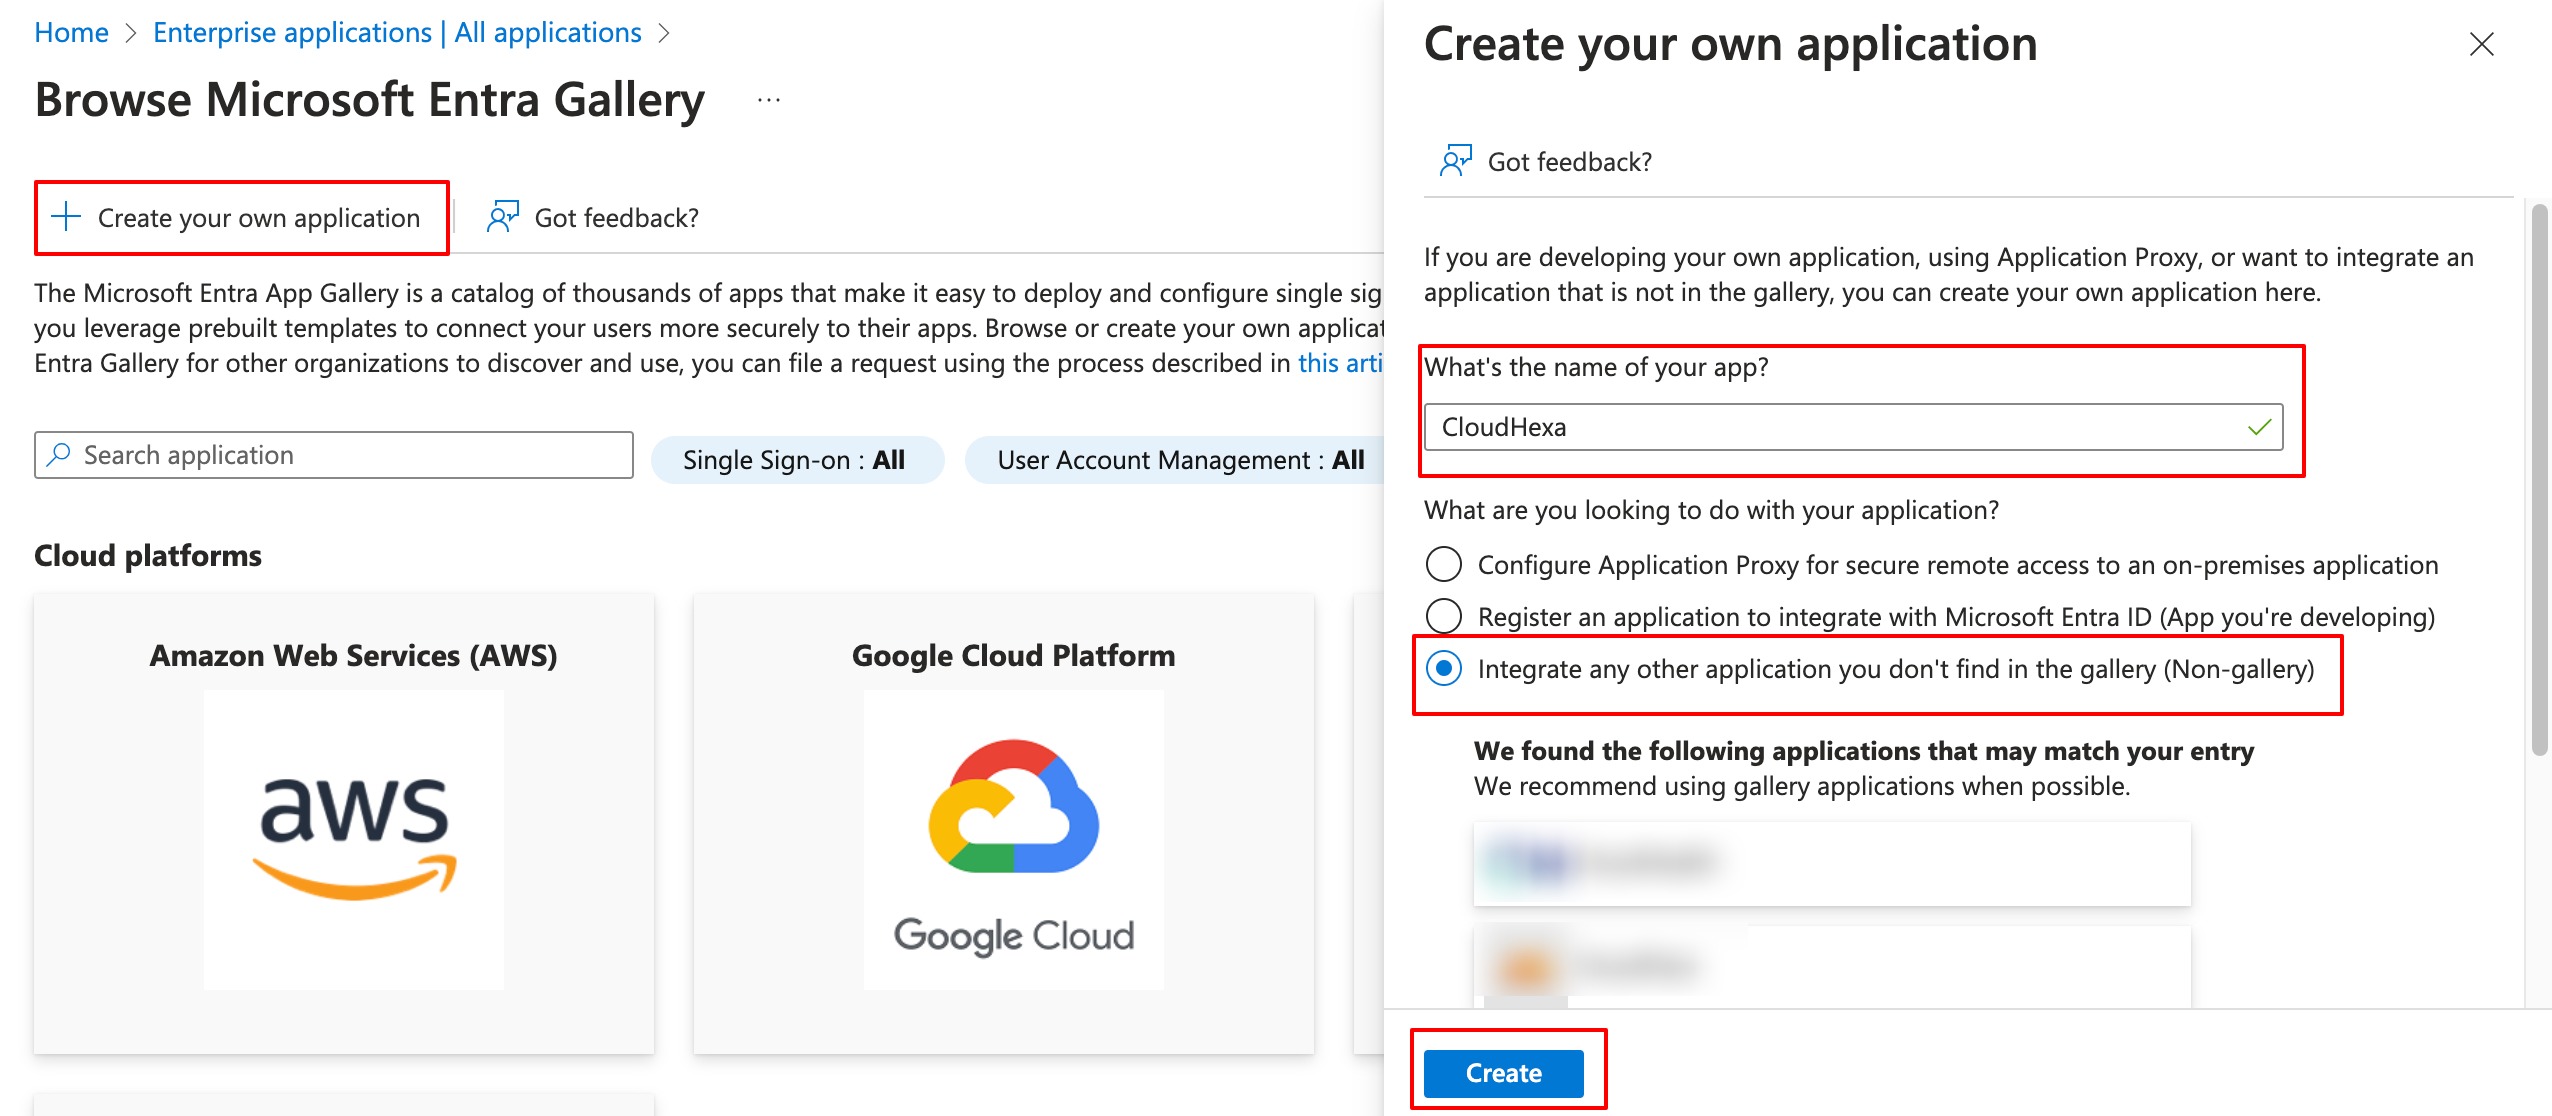
- Click on Create your own application.
- Enter CloudHexa as the name of the app.
- Choose Integrate any other application you don’t find in the gallery (Non-gallery).
- Click Create.
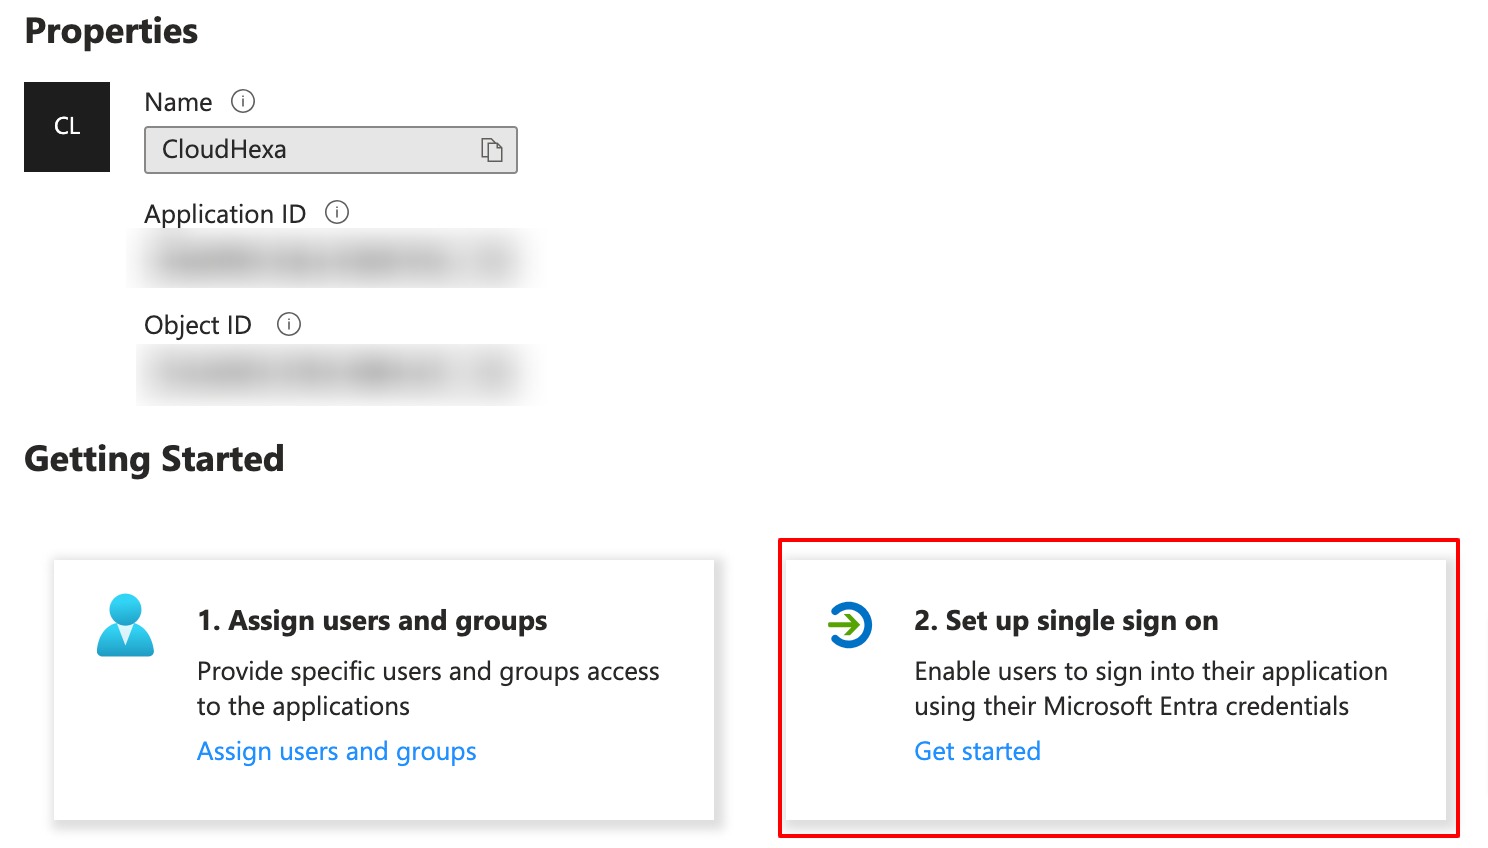
- Click on Setup Single Sign on
- Click on SAML in the Select a single sign-on method step
Step 1
Click Edit in Basic SAML Configuration, then in the dialog:
- Click on Add Identifier Identifier (Entity ID): this is your unique identifier provided by Hexa support team, paste it here
- Click on Add reply URL to add Reply URL (Assertion Consumer Service URL): Copy this URL and add it: https://cloud-digitalsignage.com/__/auth/handler
Click Save
Your settings will look like the following:

Step 2
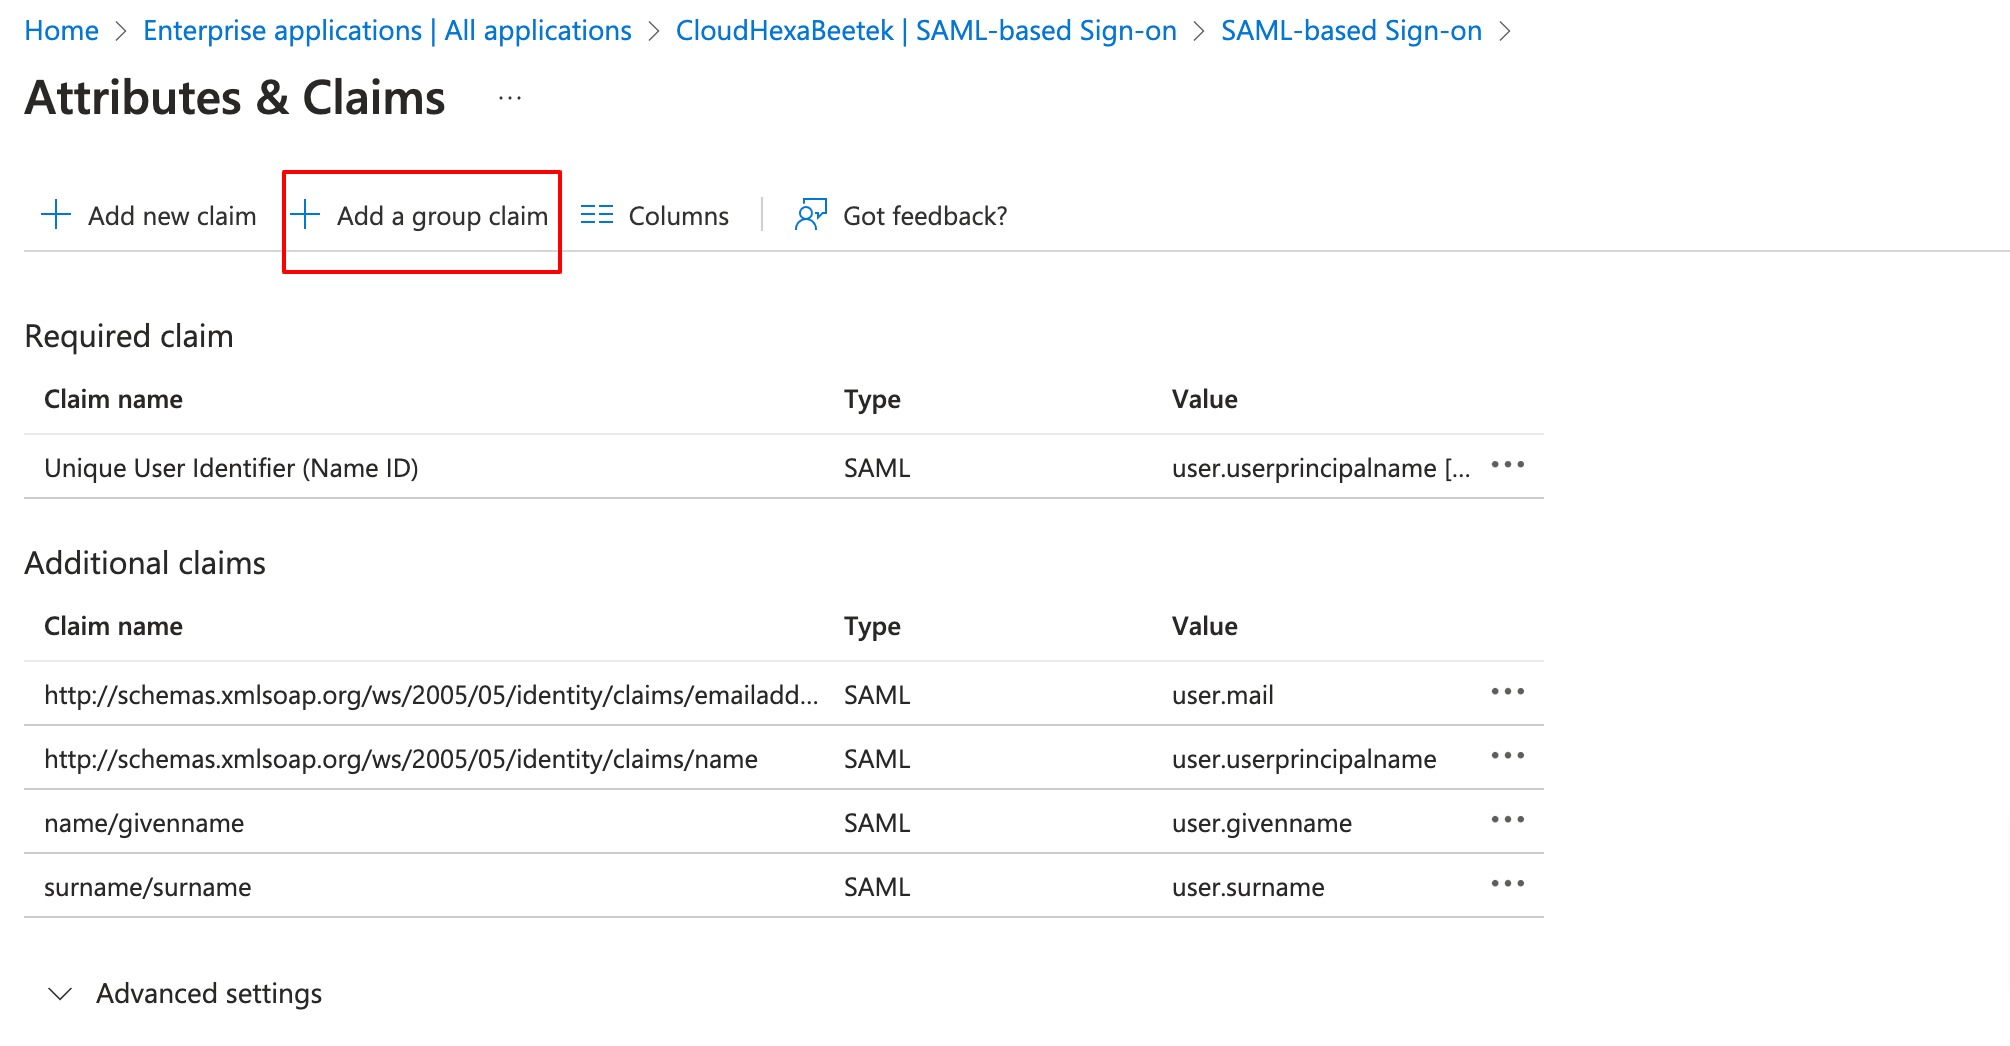
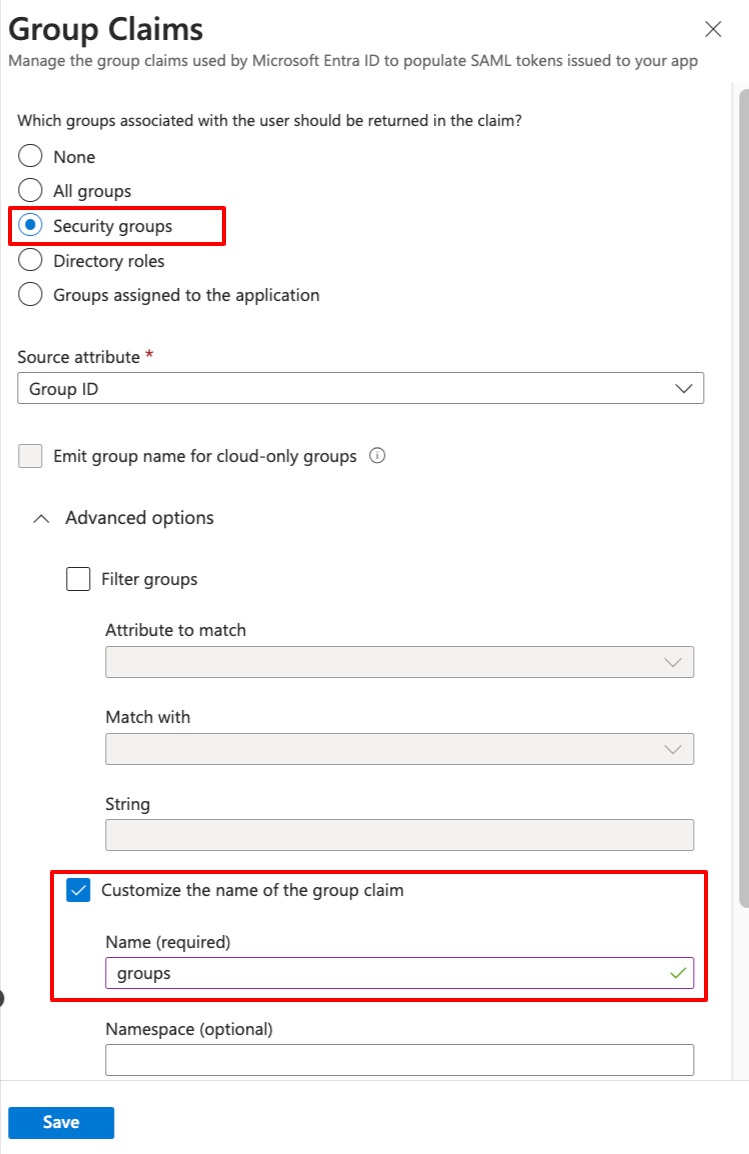
- Under Attributes & Claims, click on Edit

- Click on Add a group claim
- Choose Security Groups
- Check Customize the name of the group claim
- Type in groups
- Click Save
Step 3
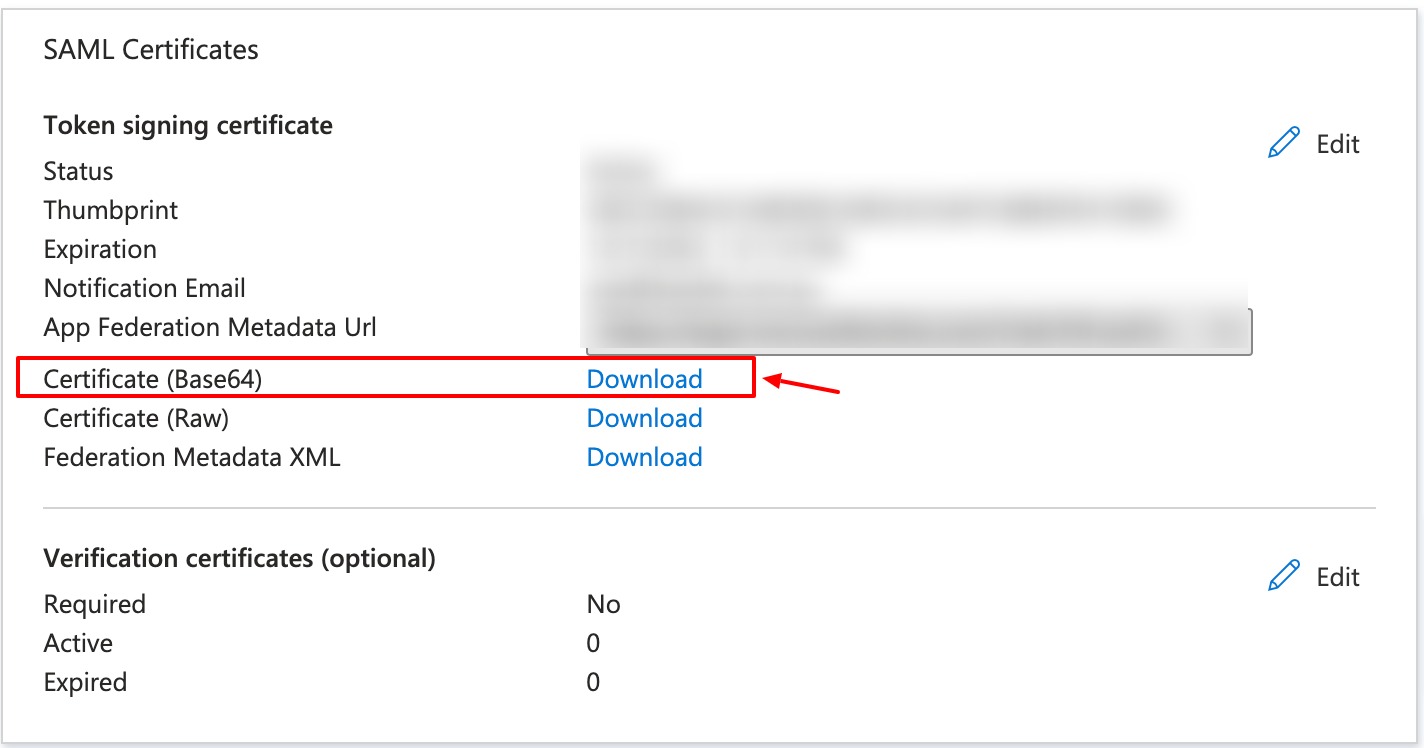
- In SAML Certificates,
- From Certificate (Base64), Click on Download. This file should be sent to Hexa Support Team.
Step 4
- In Setup [CloudHexa], copy the 2 below URLs, and send to Hexa support team.

Map AD groups to CloudHexa Accounts
- We require to create groups and map them to CloudHexa accounts, it is recommended to have seperate AD groups for your digital signage app.
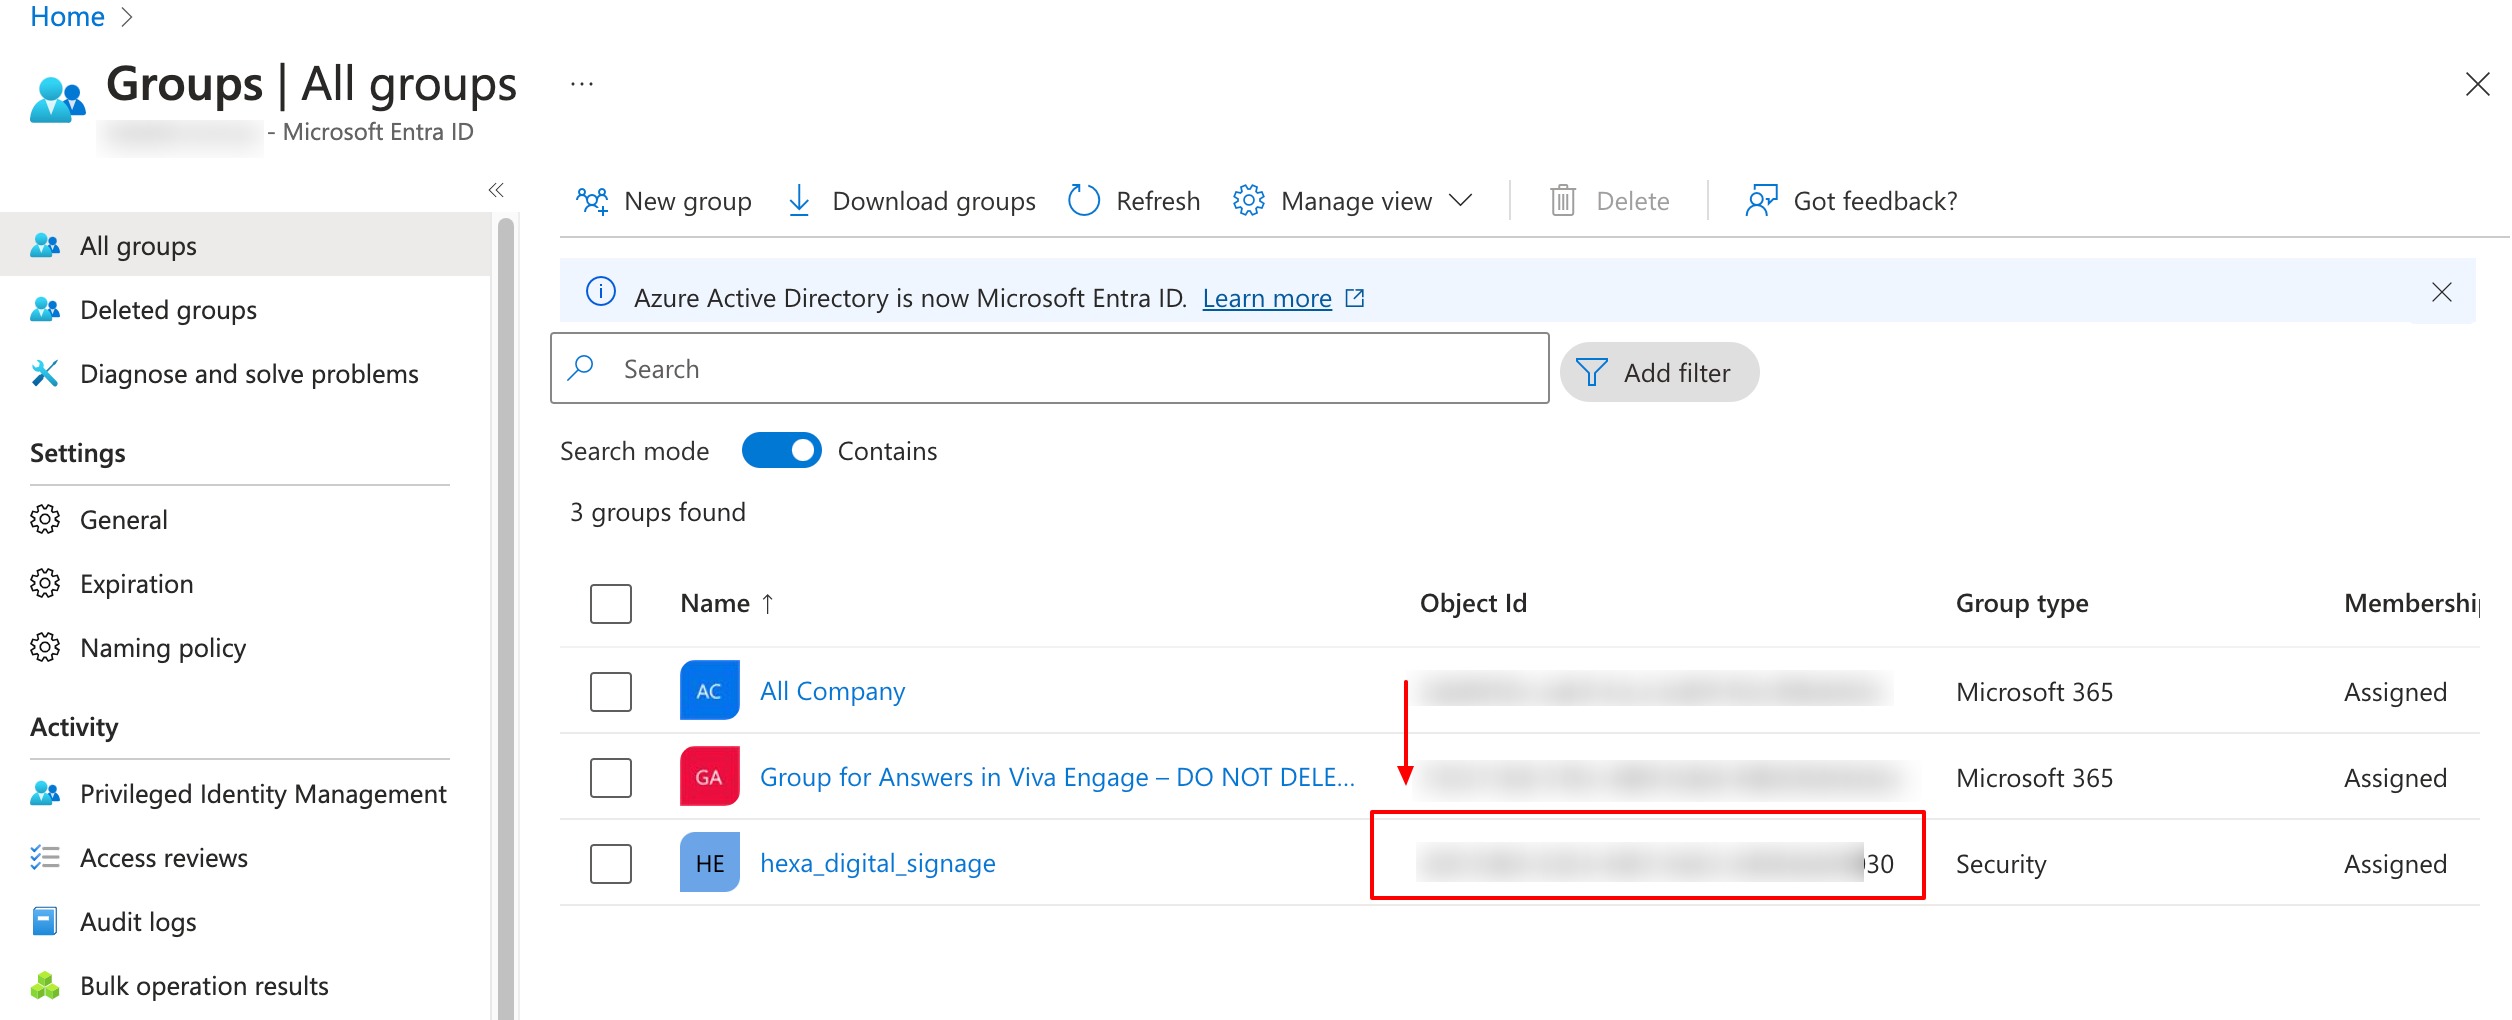
- Get the Group ID from Azure AD and provide it to Hexa support Team and specify to which CloudHexa user it should be mapped.
- In Azure AD, go to Groups, locate your group and copy its Object ID
To manage user roles in CloudHexa, refer to Teams.