Schedules allow users to previously prepare a time schedule to play different playlists.
A schedule can be assigned to a display the same way as we assign playlists.
Add a schedule
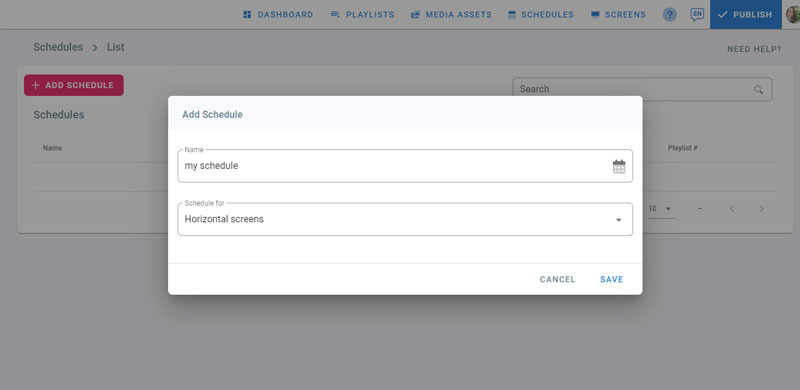
- Open the management console and navigate to schedules
- Click on Add Schedule
- Type in a name
- Since we have horizontal and vertical playlists, you should choose which type of displays you will create the schedule for
- Choose horizontal displays for now, and click Save
- Your schedule calendar will automatically open
- Choose a default playlist for your schedule. This playlist will play whenever there are no other scheduled playlists on your schedule
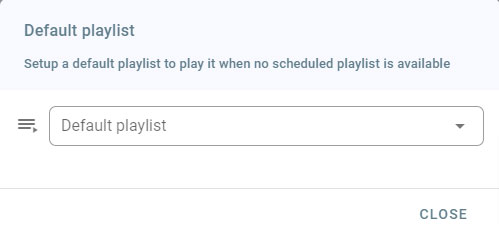
- You can see the default playlist in the left side panel
- you can also change it by choosing another one from the drop down
- Below the default playlist, you can also change the schedule name
- This name is used to identify your schedule when you are assigning it to a display
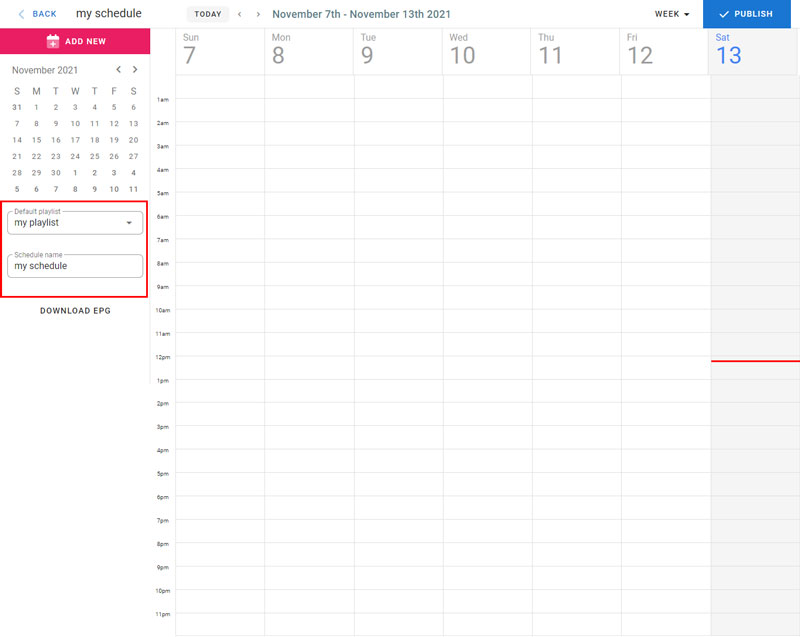
Calendar
- The red line on the calendar is a mark of the current date and time on the calendar
- The calendar in the middle of the screen is set to week view by default. This is where you will put all your scheduled playlists
- On the left, you can see the 24 hour time bar that helps you know at which time of the day you are working
- To make the navigation easier we have the months calendar in the left panel
- you can navigate through the months easily and click on a date to go to that date
- To come back to the current day, click on Today
- You can also use the arrows to move forward and backward in time
- If you are on week view, the arrows will go week by week.
Switch calendar view
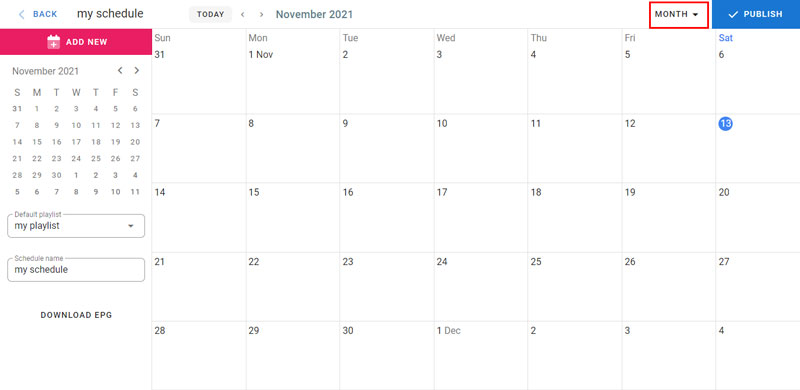
- Go to Week drop down. Here you can decide how your calendar will be organized
- You can set it to view the current day only, or the current week, month or year
- You can also see the scheduled playlists only, or if you prefer a 4 day view
Close Calendar
On the top left of your schedule page, you can click on the Back button to close the calendar and go back to schedules list.
Publish
On the top right, The publish button is here to apply your changes directly without leaving your schedule page
Adding playlists to the schedule
There are different ways to add a playlist to the schedule:
Add New Button
You can use the Add New button on the left
You can see that by default, the playlist is scheduled to play in the next coming hour
For now we will keep this time and we will learn how to change it later
Click on Save
The playlist you just scheduled will appear on the calendar
Click or Drag on the calendar
- You can also schedule a playlist by clicking on the calendar, in the same way, choose a playlist and check the time
- this way the playlist will be scheduled by default to a duration of 1 hour
- Another way is by dragging and dropping on the desired position, the duration of the playlist will be as long as you drag across the calendar
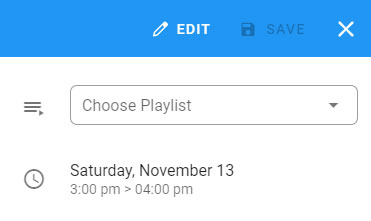
Scheduled Playlist Details
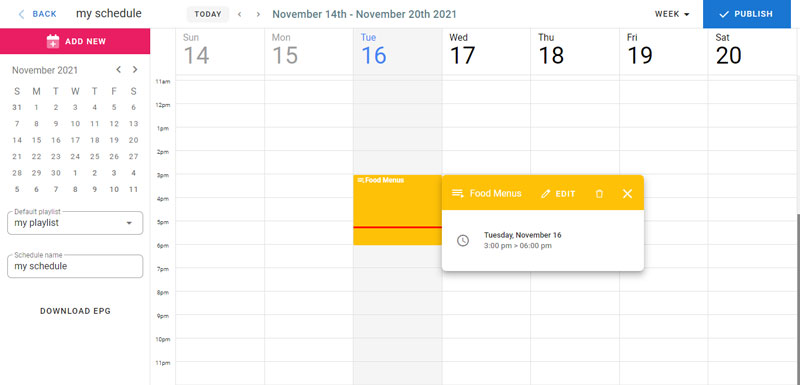
- To view a scheduled playlist with more details, click on it in the calendar
- In the dialog, you have the scheduled playlist name, the start and end time
- To close the dialog, click on the X button on the top right corner
- To delete the scheduled playlist from your calendar, click on delete
- To edit the scheduled playlist details, click on Edit
- You can also use this same dialog while you are adding a new scheduled playlist
Scheduled Playlist Settings
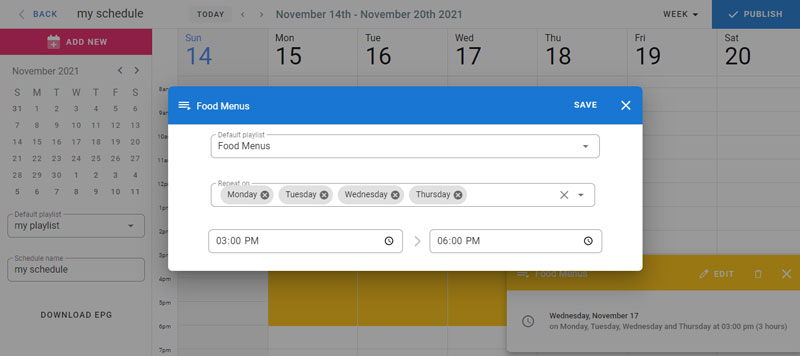
- In the edit dialog, you can change the scheduled playlist by choosing one from the drop down
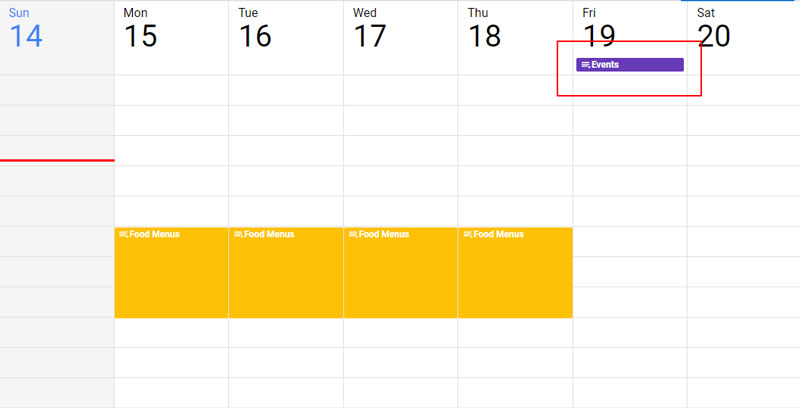
- Repeat on allows you to repeat the scheduled playlist on different days of the week
- If you choose to repeat on Mondays, Tuesdays, Wednesday and Thursdays for example, click on save and check your calendar
- You can also change your start and end time here
- Type the time you want, or click on the clock to change it using the clock view
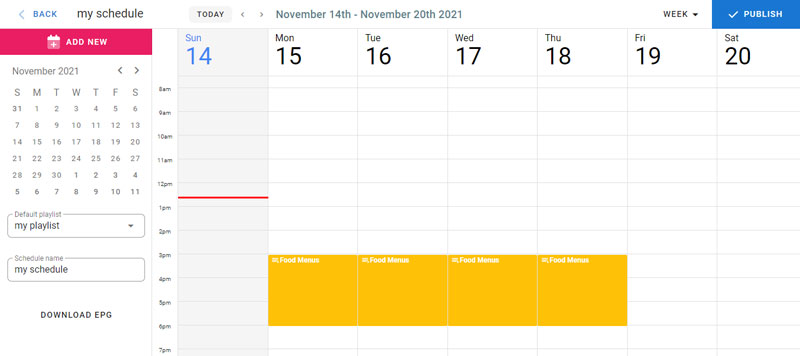
- Your scheduled playlist will appear on the days you chose
- Check the coming weeks, the playlist will be repeated there as well
- To schedule an All day playlist click on the zone below the day name as indicated in the below picture
Assign a schedule to a display
- After you finish scheduling, we need to assign this schedule to a screen
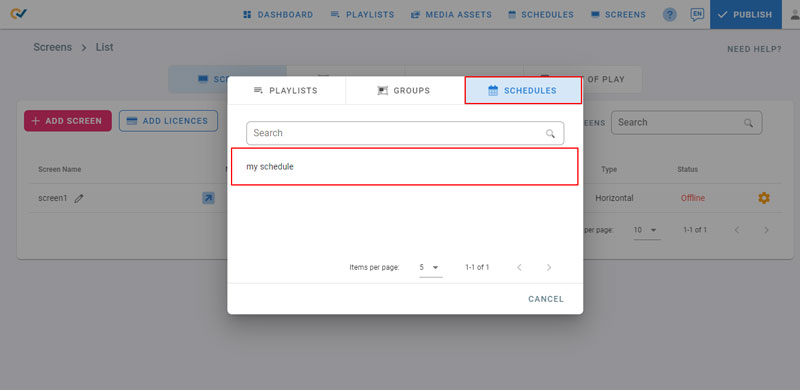
- Close your schedule and navigate to screens page
- Click on Media Source
- Navigate to schedules tab and choose your schedule from here by clicking on it
- Now your display will show whatever playlists you scheduled
- Keep in mind that the screens’ date and time are the ones used to play the schedule
- The default schedule will play if nothing is scheduled