Add a screen
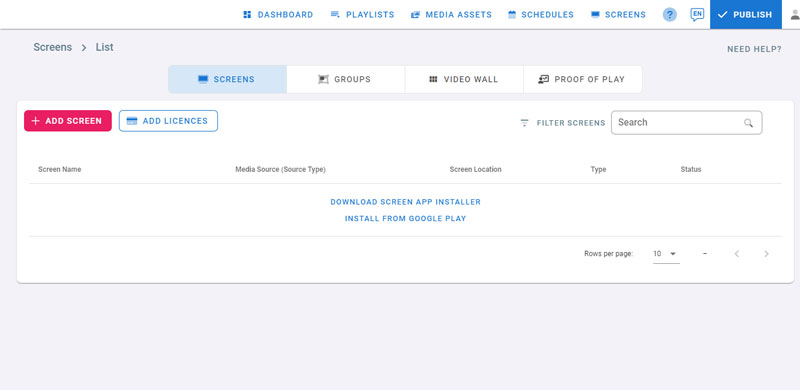
- Open the management console, and navigate to screens page
- Install the player app on your device
- If you have Google play store available in your device, click on Install from Google Play to install the player app
- Otherwise, download and install the player app manually. For more information about installing the player app on your device, check Installation
- After installation, a Hash ID should be shown on your display, this ID will be used to add your screen to your management console
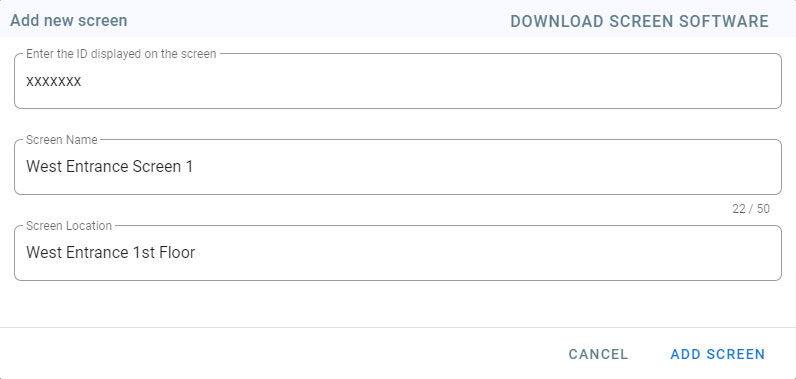
- Click on Add Screen
- Enter the ID from your display. This Hash ID is case sensitive
- Enter name and location of your screen.
- Entering screen’s address will integrate with google maps screens map that is available in your dashboard
- Click on Add Screen
- Your screen will be added the list
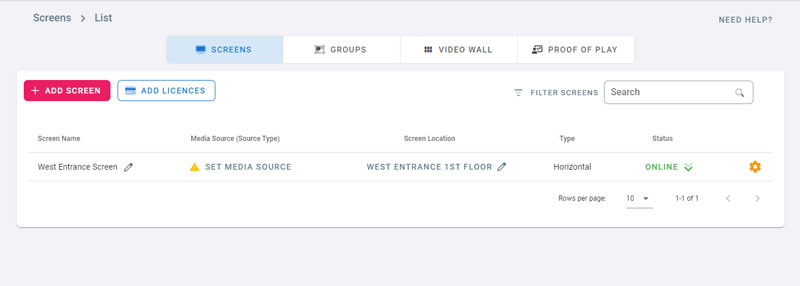
- To change a screen’s name, Click on the name and type in the new name
- To change the screen’s location, click on the location and change it
Media Source
- To add content to your screen, click on Set Media Source
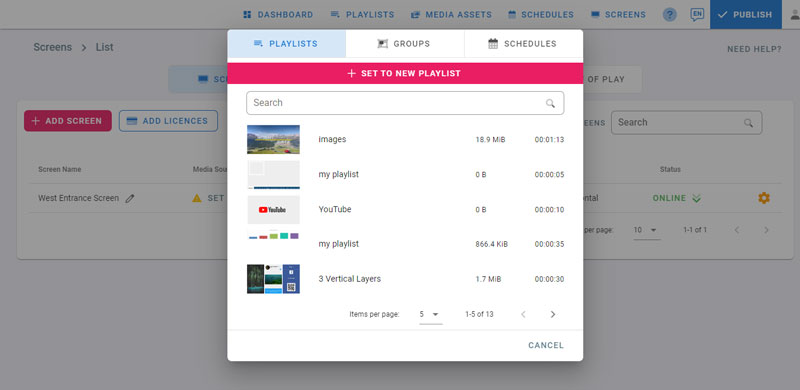
- If you already created playlists, click on the playlist your want to assign to your screen
- or click on Set to new Playlist to create a new playlist and assign it to your screen
- Type in a playlist name to filter the playlists
Note: If the screen is horizontal, only horizontal playlists will show, and if it’s vertical only vertical playlists will show.
- In addition to playlists, screens can be assigned to groups or schedules
- To assign to a group, click on Groups, then on the group name
- To assign to a schedule, click on Schedules then on the schedule name
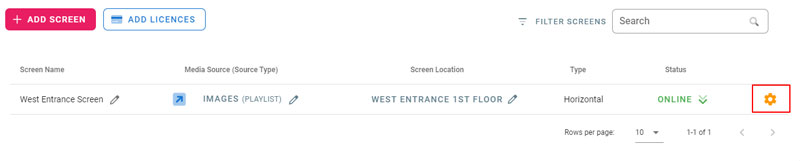
Screen Settings
- Click on the Settings button of your screen
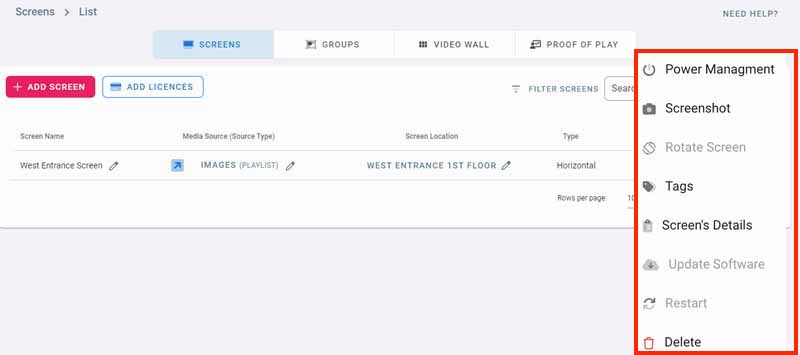
Power Management
Check Power Management
Screenshot
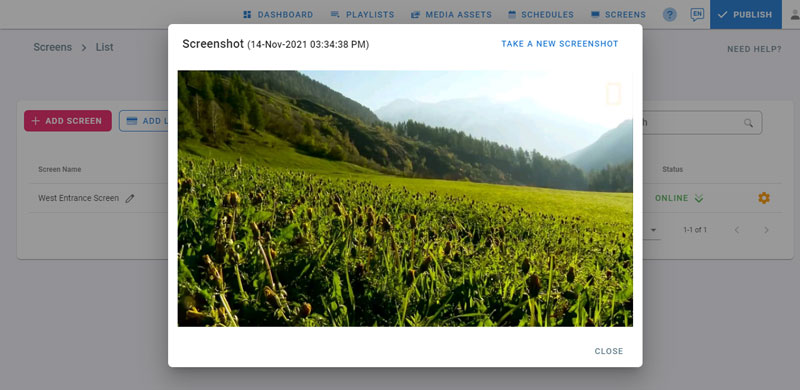
- Click on Screenshot from the settings drop down
- Click on Take a new screenshot
- Wait for the screenshot to load, it might take a few seconds
- You can check the timestamp of the last screenshot taken
Rotate Screen
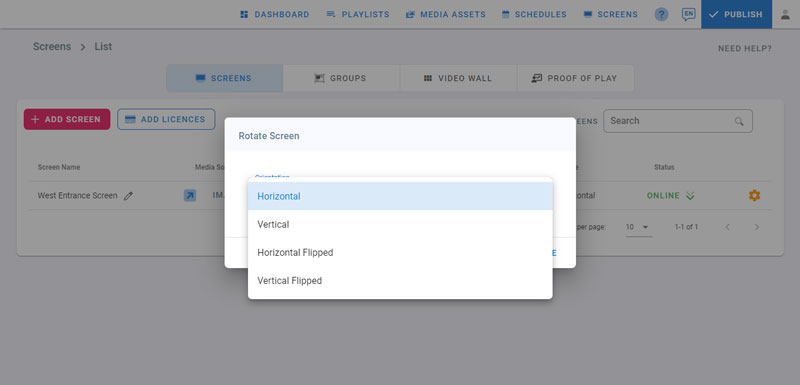
Click on Rotate Screen from the settings drop down
The screen can have one of the 4 orientations:
- horizontal: the screen is at 0 degrees
- vertical: rotate the screen 90 degrees
- horizontal flipped: rotate the screen 180 degrees
- vertical flipped: rotate the screen 270 degrees
Choose one and click Save
Your screen will rotate to the chosen orientation

- If you choose vertical, you can see that the Type has changed to vertical
- The media source is cleared, since the vertical playlists are different from the horizontal ones, choose a new one by clicking on Set Media Source
Tags
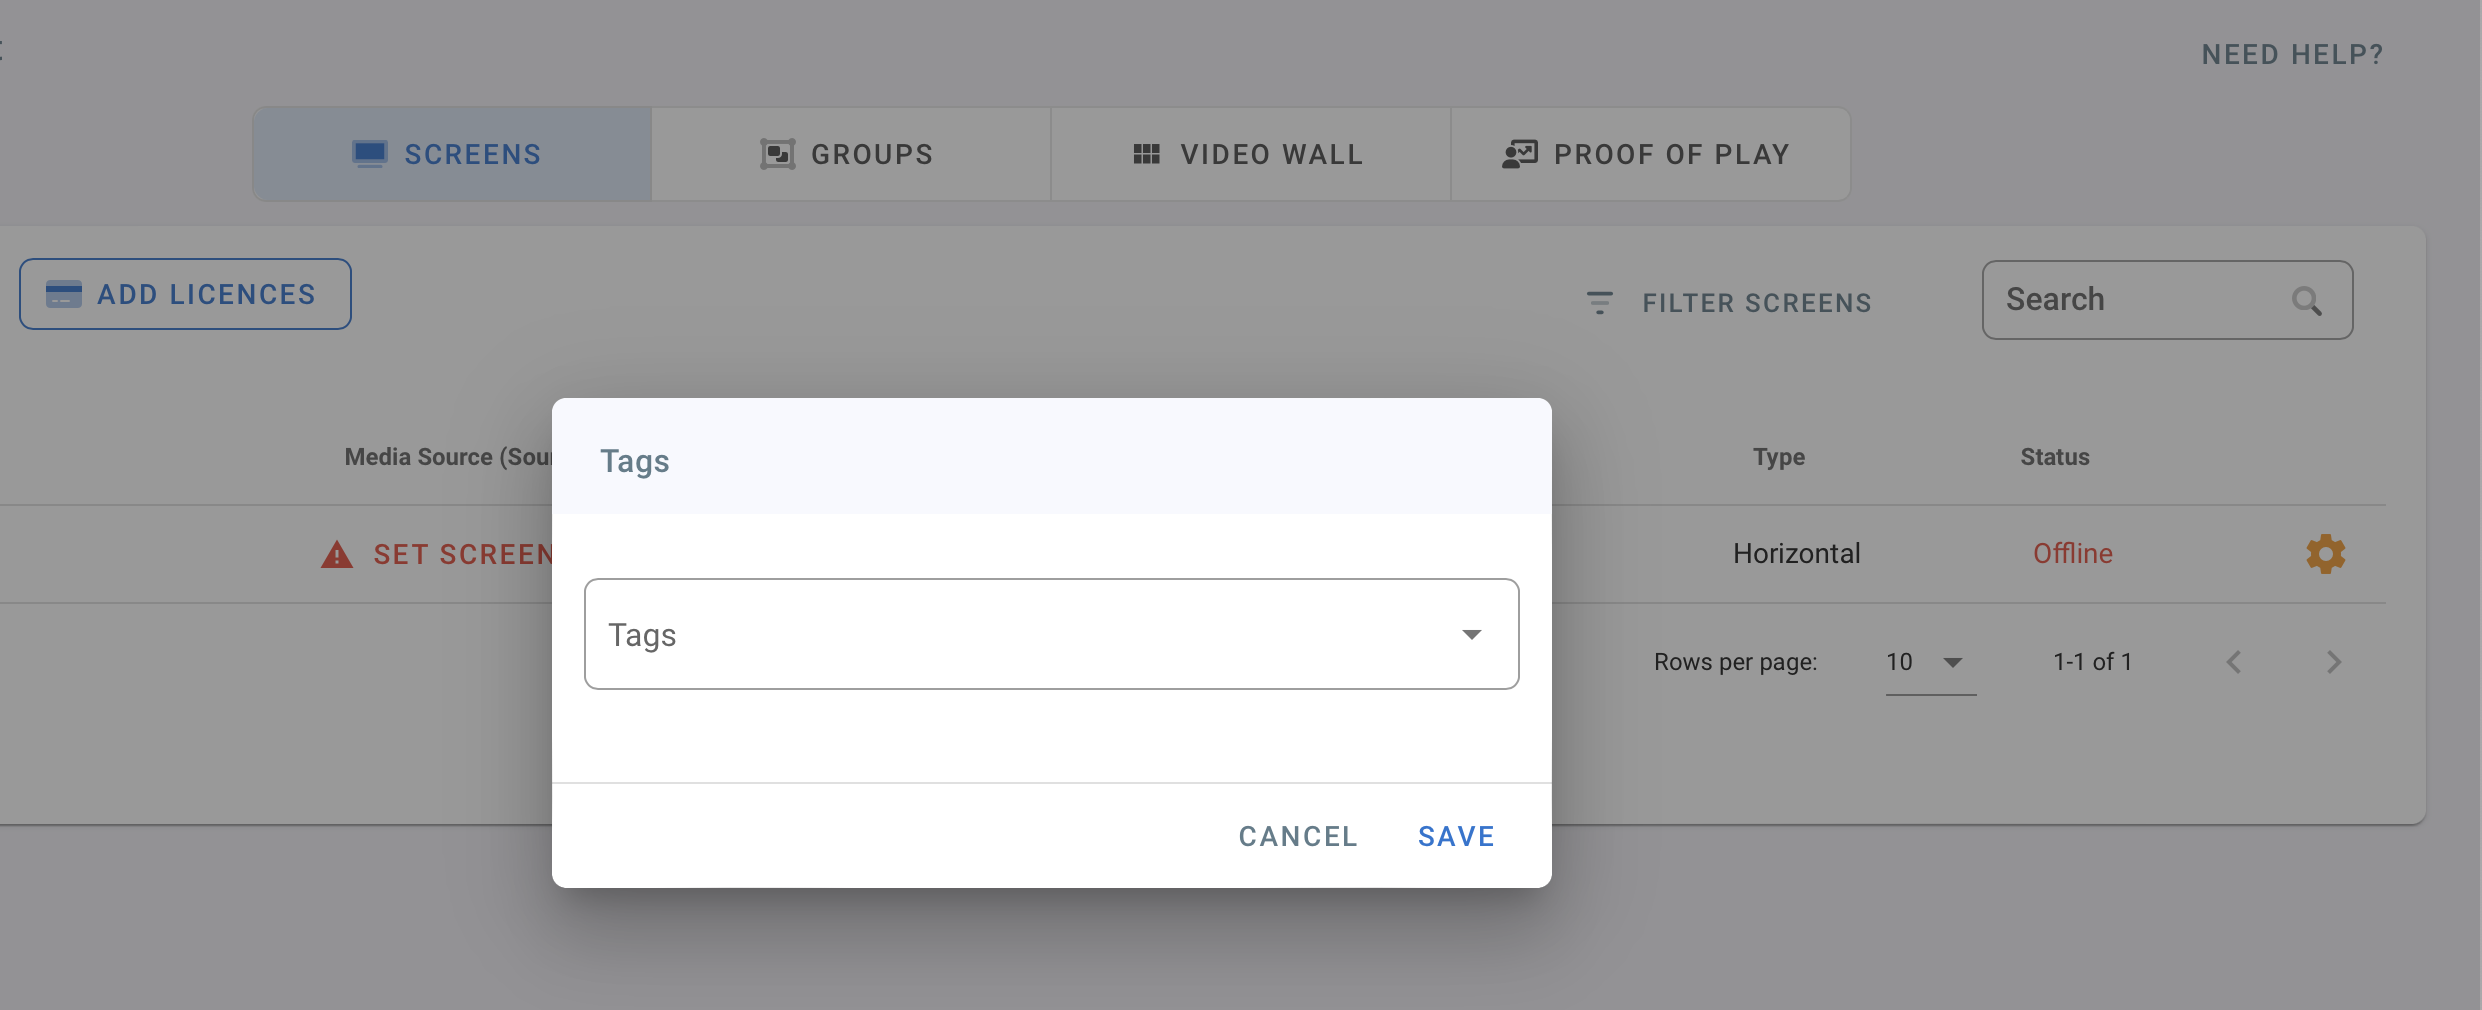
- Click on Tags
- Choose Tags for the screen
- Click Save
Screen Details
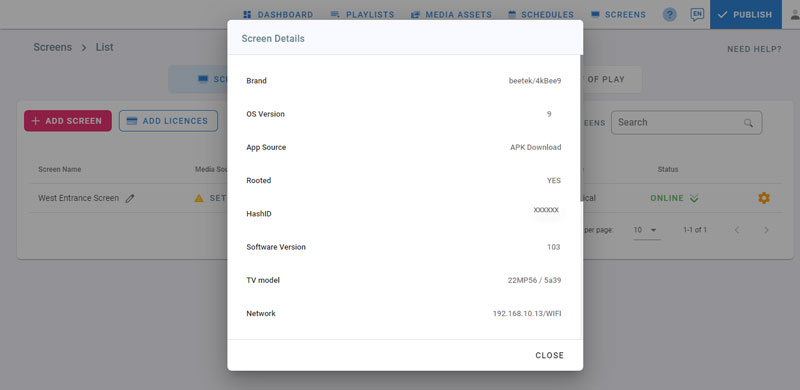
- Click on Screen’s Details
- View the hardware and software details
Restart
Requires a Rooted screen
- Click on Restart to make your screen reboot
Delete
- Click on Delete to remove your screen from the management console
- The screen should show the Hash ID and can be added to other accounts
- All the data and media files will be removed from the screen
Filter and Search Screens
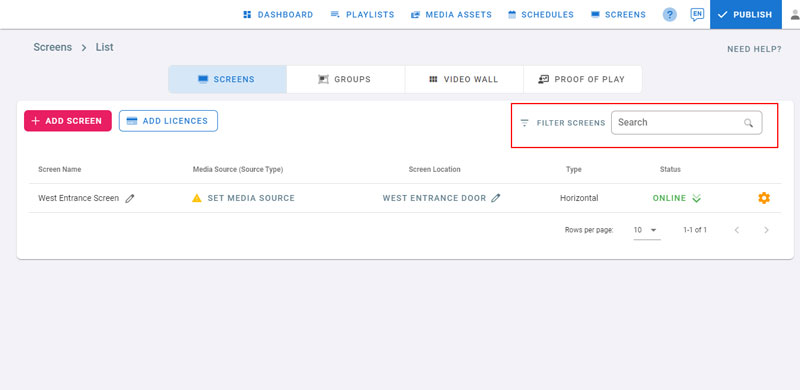
- Type in a screen name to search for it in the list
- Click on Filter Screens to filter by:
- Status: All, Online, Offline
- Type: Vertical, Horizontal