The TEAMS feature is how you can provide users with access to specific screens & content.
You can create multiple teams and assign one or more users to each team.
Each team can have different or the same permissions as the other team.
Users that belong to the same team can be restricted to their own playlists and screens.
For example, you can create two different teams, let’s say team 1 and team 2.
Each team can have multiple users, and each team can create their own playlists, and they will be restricted to those playlists only. Administrators can limit access of each team to their own screens using tags.
Step 1: To add Teams
- Click on the profile icon in the top right corner.
- Click on User Management
- Go to TEAMS tab.
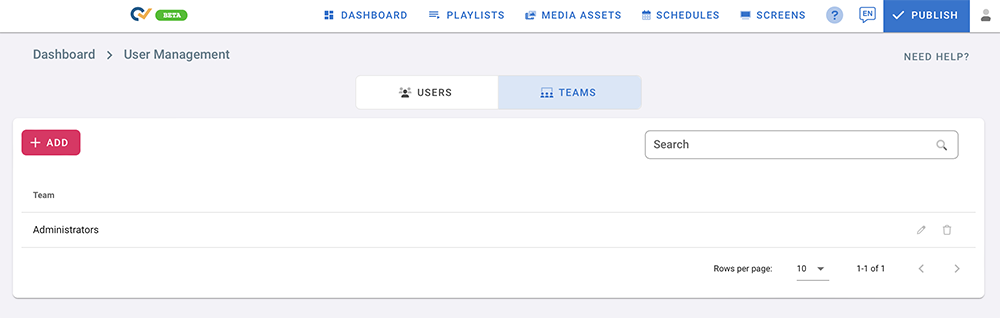
- The Administrators’ team is created by default and has full access to the system. It can not be edited or deleted.
- To add teams click on +ADD
- “Add Team” screen will open with various access checkboxes.

- Enter the team name, for example, “Team1”.
- Now, you have to assign privileges to the team you created.
- Click ADD TEAM
1. Playlists
If “Playlists” checkbox is checked
This option allows the user to access playlists. Once checked, the user will be able to manage all playlists in your account.
Another option will appear once you check the playlists checkbox, which is “Restricted”.Restricted
If “Restricted” checkbox in checked
This option will restrict access to the team’s playlists only. Other playlists will not be available in the selected team’s account. The user will be able to manage playlists only assigned to him.Click Save

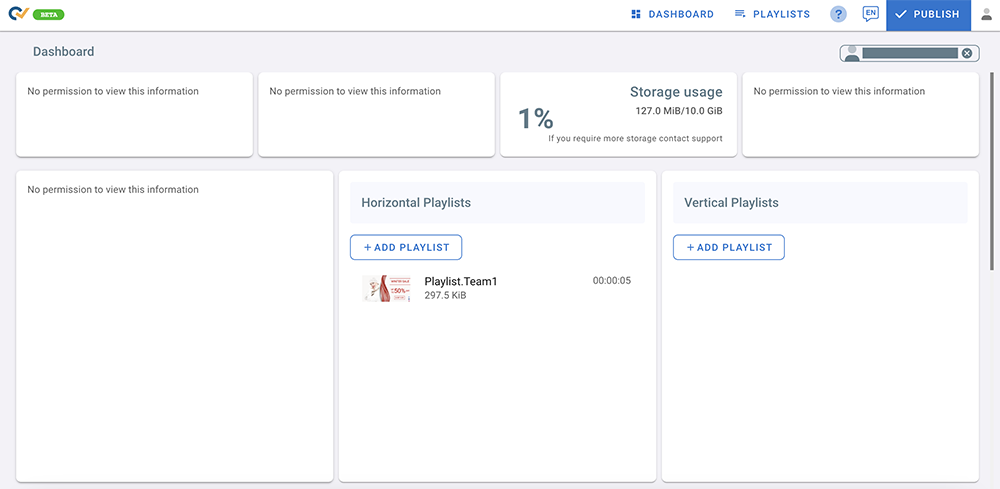
Administrators can share playlists among different teams to do so:
- Go to Playlists
- Click on +ADD PLAYLIST
- In the “Add Playlist” screen, write the name of the playlist, for example playlist.Team1
- In the “Team” drop-down list, choose a team for the playlist you are creating, for example, Team1
- Click “Save”.
- Continue setting up the playlist by following the steps in Playlist Management.

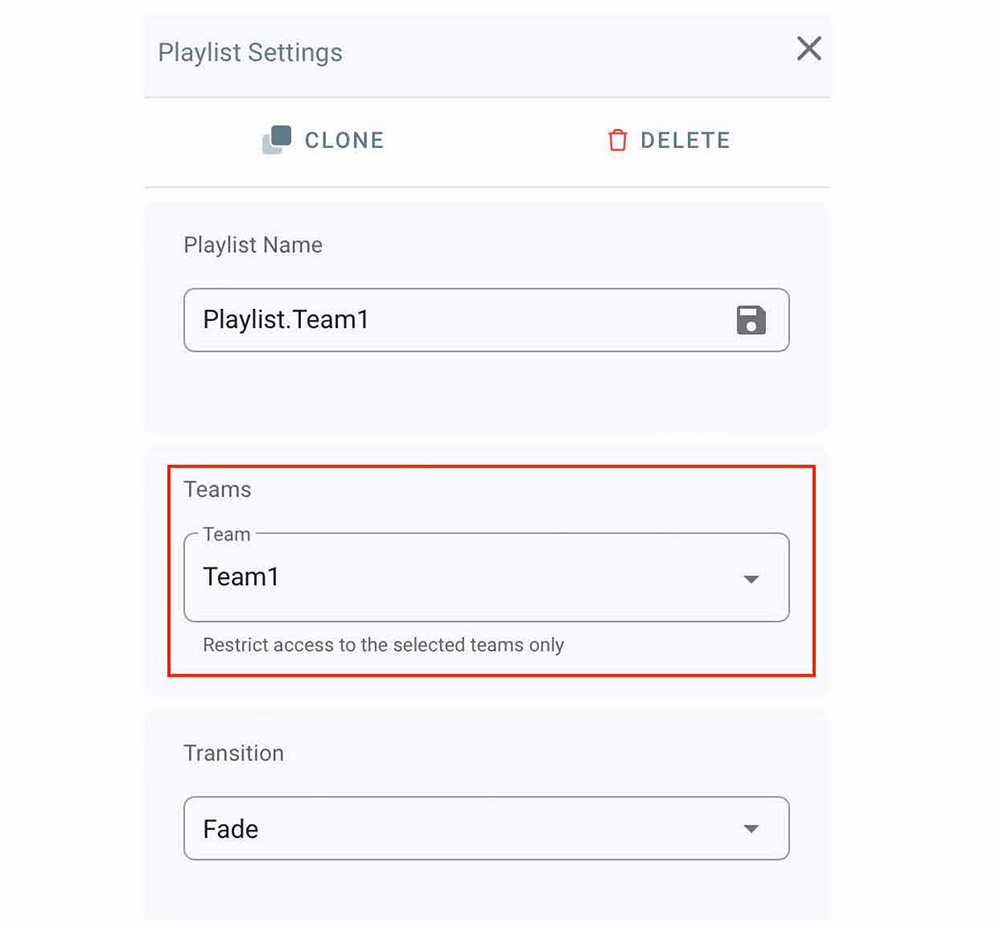
You can also assign an existing playlist to a team
- Go to playlists.
- Click on “Edit playlist”. Playlist settings will open.
- From the “Teams” field, choose a team for your playlist.
2. Settings
- If Settings checkbox is checked

This privilege will allow the selected user to access the admin’s account settings.
- If Unchecked, the only settings the user can manage are his profile and his own account.

3. Screens
- If Screens checkbox is unchecked, the user will not have permission to access the Screens management console in your account.
- If checked, the SCREENS will be available for the user to access.
- Once you check Screens, three other permissions will appear, Screens Admin, Restricted and Restrict by tags.

3.1 - Screens Admin
- To allow users to manage your screen, “Screens Admin” must be checked. Screens Admin permits the user to add and delete screens, change screen tags, add licences, and access proof of play.
- If Screens Admin is unchecked, the user will be able to view the screens only and set screen content.
3.2 - Restricted
- If Restricted is checked, the user will have restricted access to the team’s groups and video wall only. Other groups and video walls created by the admin or other teams will not be available for this team to view or manage.

3.3 - Restricted by tags
- If this option is checked, the user can access screens having the same tags only.
- Make sure the screen you want the team to access has the same tag.
- To add tags to screens, Go to SCREENS page > Click on edit screen configuration > Click on Tags > Enter one or more tags (for example, Tag1) > Click Save.
- Once you check the Restrict by tags checkbox, + Add option will pop up to allow you to add tags related to this team.
- Click on + Add
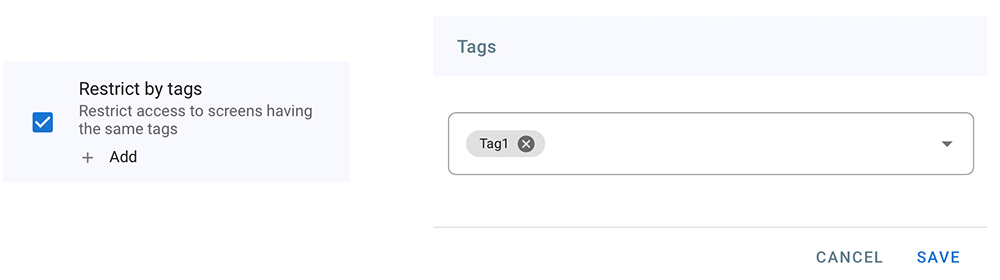
- Enter one or more tags.
- Click on Save.
- Screens with matching tags will be available for this Team to access.
- If Restricted by tags is unchecked, this team will access all screens in your account.
4. Schedules
This privilege allows the user to access SCHEDULES management console.
- If unchecked, the user will have no access to the Schedules in your account.
- If Checked, the SCHEDULES management console will open, and all the schedules will be available for the user to manage.

Restricted
If Restricted is checked, the team will have restricted access to his schedules only. Other schedules will not be available for him to manage.

- Users under this team can create their own schedules.
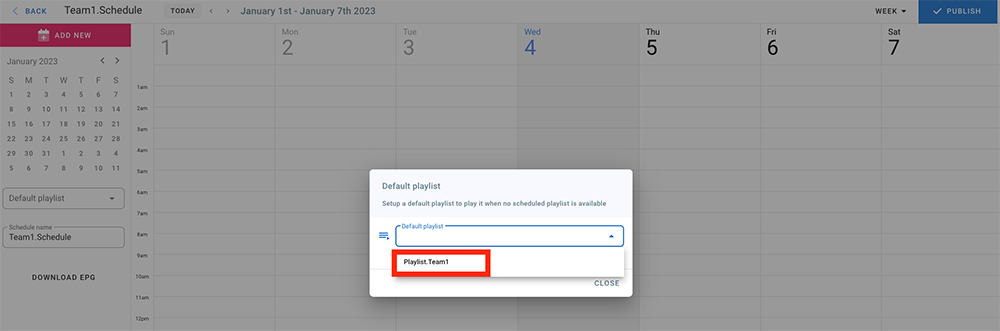
- Go to schedules > click + ADD SCHEDULE > write a schedule name > click save.
- Choose a default playlist.
- Now if this team has restricted access to the team’s playlists only (check access level for playlists), the team can choose only from playlists assigned to him. Other playlists in your account will not be available.
5. Media Assets
- This option gives the team the privilege to access Media Assets.
- If the checkbox is checked, the team can access Media assets from the management console and from the Apps dialogue when adding a new layer in a playlist.
6. Channels
- This privilege allows the user to access CHANNELS in the Playlists Page.
- To activate CHANNELS, check Channels checkbox.

- If Channels is unchecked, the team will not have the permission to access the Channels page in your account.
- If Channels is checked, the team can access the channels from the Playlists Page, and from the Media Source type in the Screens Page.
- To restrict access to Team’s channels only, check “Restricted” checkbox.
If “Restricted” is unchecked, the Team can access all channels in your account. - Click Save
Note:
- If “Playlists” checkbox is unchecked and “Channels” checkbox is Checked, the team will no be able to access the Channels page from the playlist page. (He has no access to Playlists).
But the team can still view the Channels from the Media Source Type in the Screens page. - If “Restricted” in “Playlists” settings is checked, it will allow the Team to add his playlists only to Channels. Other playlists will not be available in his account.
Step 2: Link Users to Teams
Now, after you have finished assigning access levels to the team you created, go to the USERS tab in the user management to link users to the team.
Add a new user or edit an existing one.
- To add a new user, follow the steps in Users.
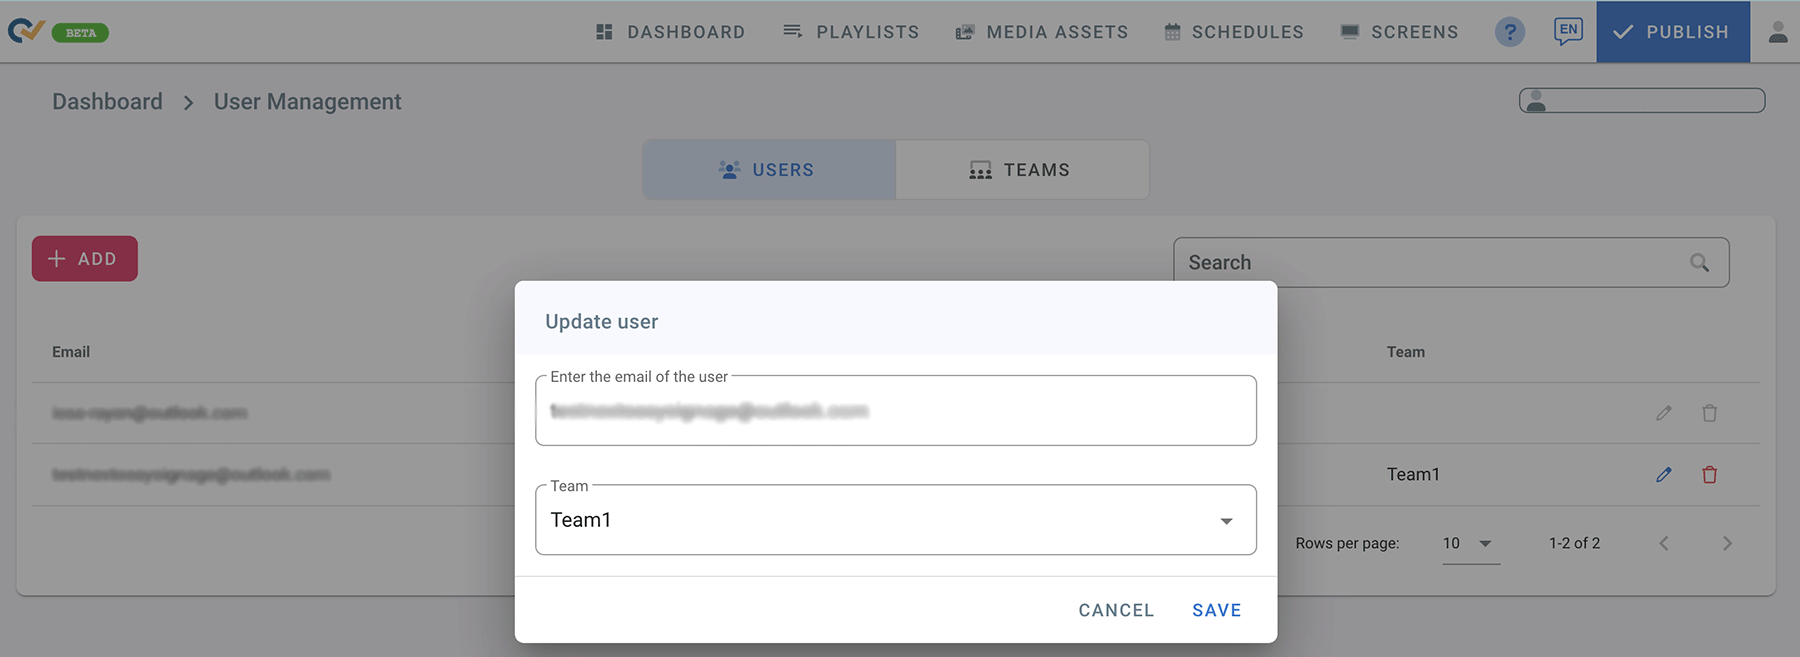
- To assign a team to an existing user, click on the edit icon next to the user’s email
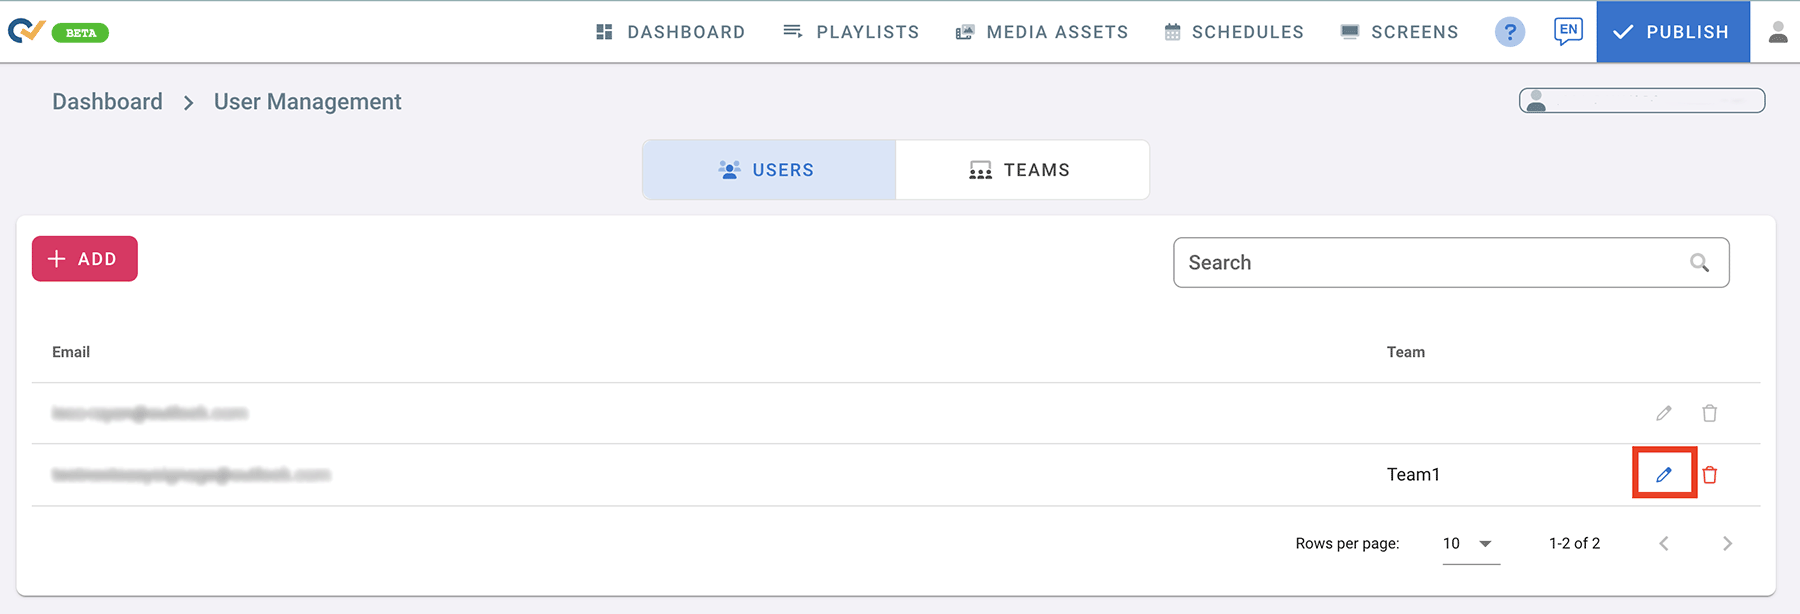
- Update Team for the selected user and click save.